
Hero: Adding and customising the Section
What is the Hero Section for?
The Hero section acts as the title page of your presentation. By default, it includes a main banner featuring your yacht's name, or route name with region, and a large-scale image (Depending on what slide you are working on for your presentation). The style of the Hero section can be adjusted as well. Many of our users decided to add a Hero section to the top of each page in their presentation.
▶️ Checkout this awesome example presentation. using a hero section
How to add a Hero section to you presentation
To add the Hero section to your presentation:
1, Click the '+ Add Section' button to open the section selection menu.

2. Find and click on the section called 'Hero' to add it to your presentation. 
3. Once added, it will auto-populate with images and text, depending on what hero you have added on what page within the presentation. You can then begin to edit and customise any of the content.
Customising the Hero section
1. Start by hovering over the top right corner of the section to show the action toolbar, then click the pencil edit icon. 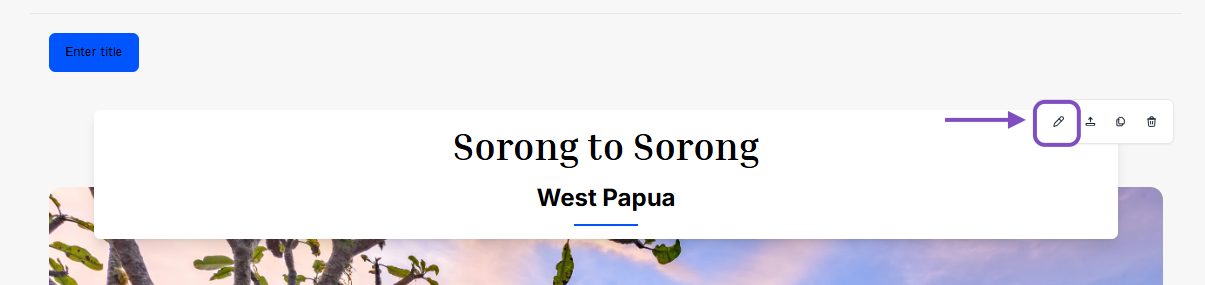
The settings panel will open on the left and allows you to modify the gallery, layout, and content style.
2. You can adjust the layout of the section by clicking the tab titled 'Layout' of the settings panel, then click on the layout you wish to use. 
3. To turn on or off the gallery button, you can toggleit here as well.

4. To change the images shown on the hero section, simply click the tab titled 'Gallery'. You will see a list of all images that are available for use that come as default with the Yacht or Route you have selected. You are also able to upload your own as well.
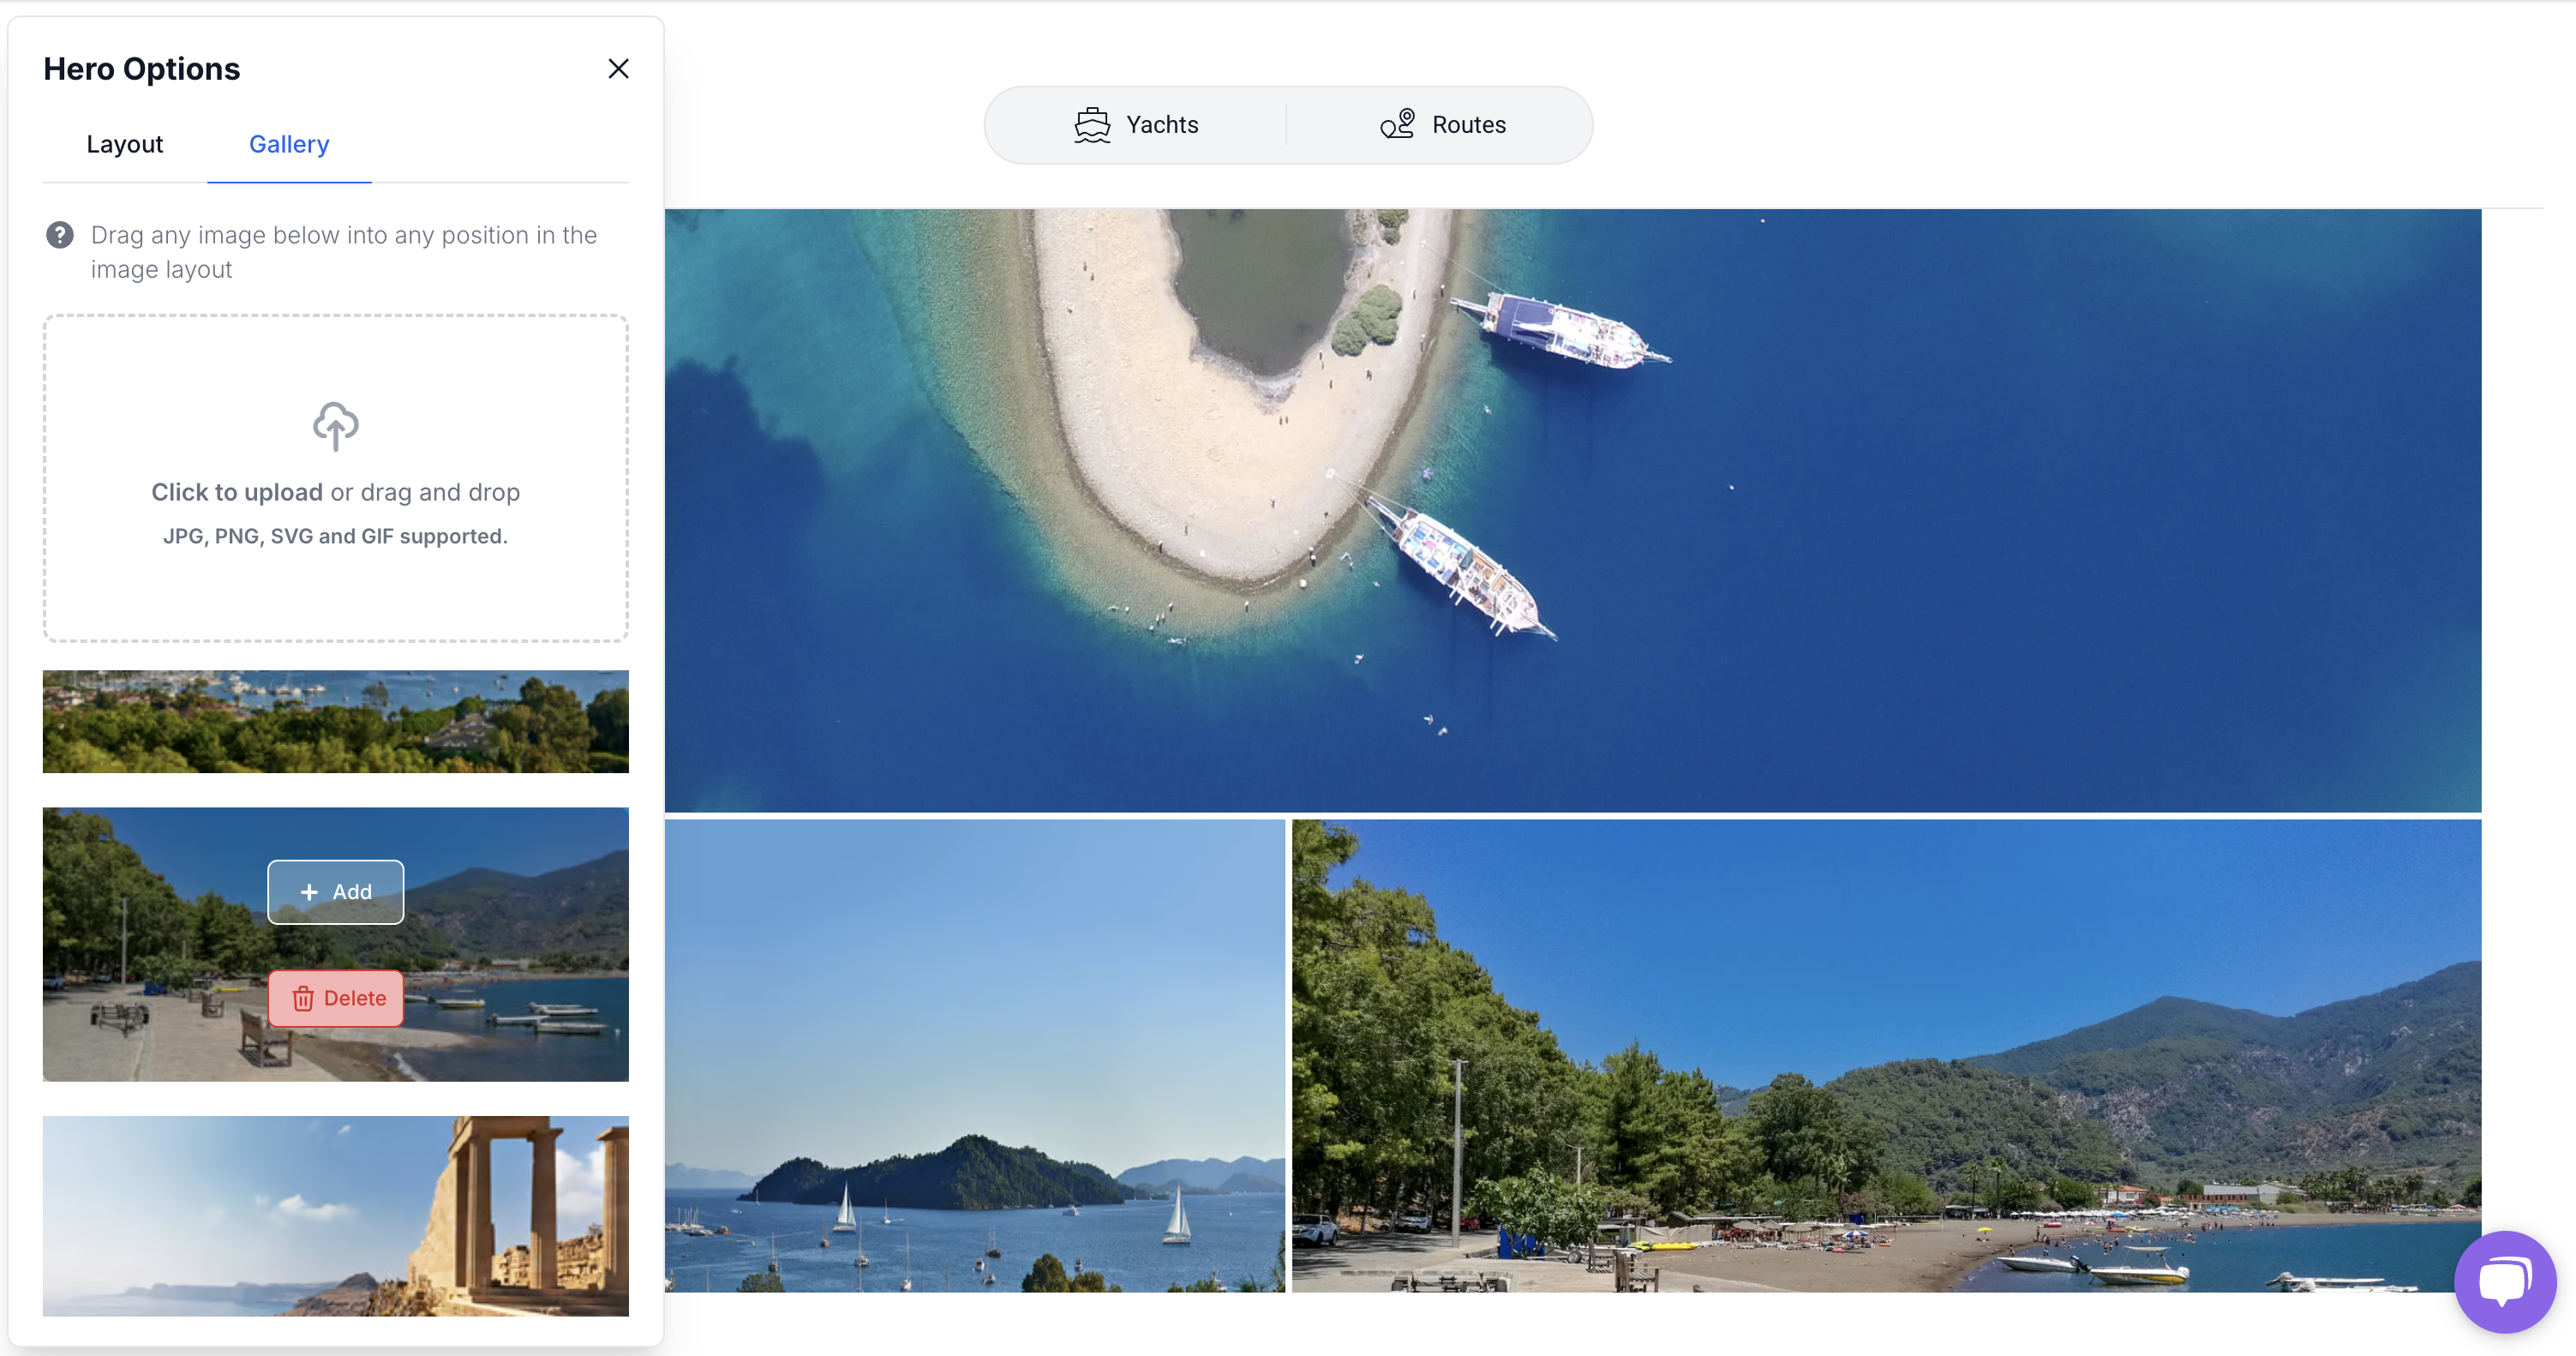
To select an image, you can hover over the image and then click 'Add', or drag the image into the area you want it to be shown.
⚡Quick Tip
You can preview the presentation before sharing it; simply click the 'Preview' button at the top of the screen.

Still Need Help?
Speak to our Customer Success team, who are here to support you via support@ankor.io or chat with us using the Life ring Help feature at the bottom right of our application.