
Create & Edit Routes
What is a Route?
A route can be thought of as any reusable location information in a sequence of days or stops. A Route might include:
- An overview of the entire Route,
- Day Overviews,
- Day Images,
- Location Descriptions,
- Location Images,
- Additional information,
- Links and more
Ankor has a vast library of routes to choose from. You can start by editing an existing route or create one from scratch.
Editing an Existing Route
To edit an existing route:
1. Start by navigating to the 'Routes' tab on the dashboard.
2. Browse and select the route you wish to preview and make edits to.
3. Once you have found the route, click the kebab menu and click edit, or duplicate and edit if it is an Ankor Route. Ankor Routes cannot be edited, but they can be duplicated and edited as a new route.
4. Give the route a new name and click 'Edit Route'. This will launch the route editor.
5. Inside the route editor, make changes to the arrangement of days.
Create a New Route from scratch
To create a route from scratch:
1. Start by navigating to the 'Routes' tab on the dashboard.
2. Click the button 'New Route'.
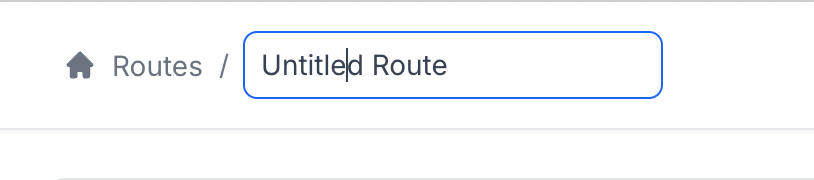
3. Give the New Route a name that is memorable so you can find it easily in the future.
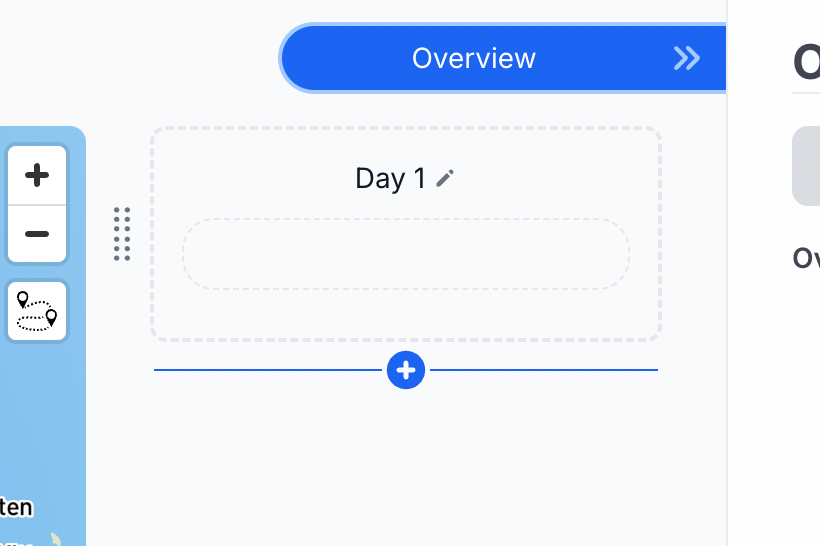
4. Start by scaffolding out the number of days you are scheduling the route for. If you have specific dates in mind, you can modify the title, for example, from 'Day 1' to 'Day 1—14th of December'.
5. Search for your first location using the map. Ankor offers a vast library of pre-existing locations to choose from. You can add any Ankor location to your route or create a custom location. For details on creating your own location, follow the guide 'Managing your locations'.
6. Add the remaining locations to the route and arrange them in the desired sequence by dragging them around.
7. To edit the content of a location, click on it and expand the content area to update the location’s images, description, or pin.
8. Once you’re satisfied with the route, click the 'Overview' section and add a brief summary describing the entire route.
9. When you’ve finished, you can either close the tab, return to the dashboard, or click 'Add Route to new Presentation'. Selecting this button will open the edited route in a new Presentation Document, where you can add yachts or make further design changes before sharing it with a client.
Check our 'Create & Edit Presentations' for a more detailed explanation.
If I make changes to my Route inside the Presentation design area, will it save over the original Route?
The short answer: No.
Changes made in the presentation editor will not affect the original Route. Once a Route is added to a presentation, it essentially becomes a separate copy. Any edits you make will only apply to the version of the Route inside that specific presentation. The original Route remains unchanged. We’re working on a feature that will allow easier editing of the Route and its content directly from within the presentation editor. Until then, think of the Route in your presentation as a standalone copy.
Still Need Help?
Speak to our Customer Success team, who are here to support you via support@ankor.io or chat with us using the Life ring Help feature at the bottom right of our application.