
Part 2: Finalizing the Contract: Entering Details, Signing, and Distribution
Have you completed Part 1?
If you haven't first completed part 1, we recommend reading Part 1: Generating and inputting the contract particulars before proceeding with this article.
Part 2: Inputting the Charterer & Owner details
Once you have completed Part 1, you will receive another email to input the Charterer's and Owner's email so they can sign the contract. Note: The Email information of the Charterer and Owner are kept private from all other parties.
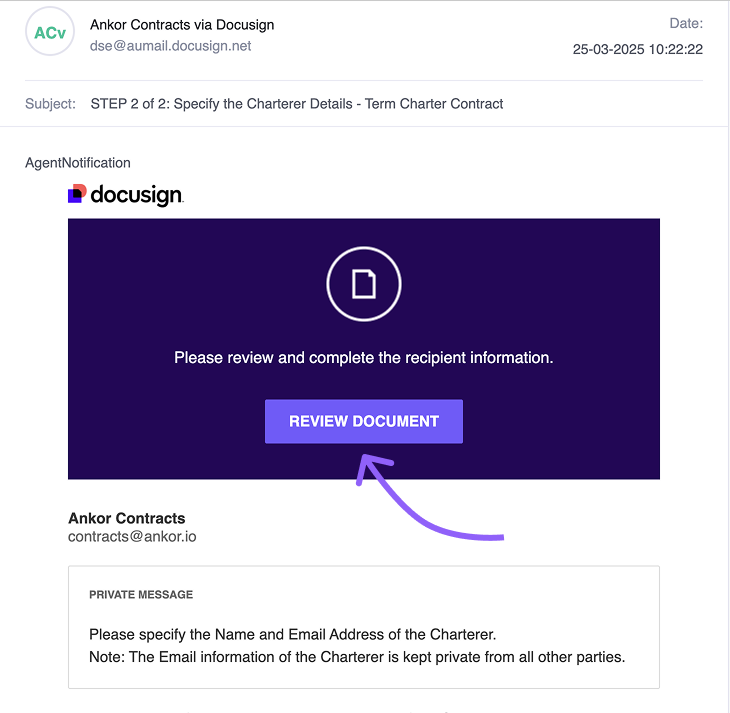
Start by clicking on 'Review Document' from the email you recieved from Docusign.
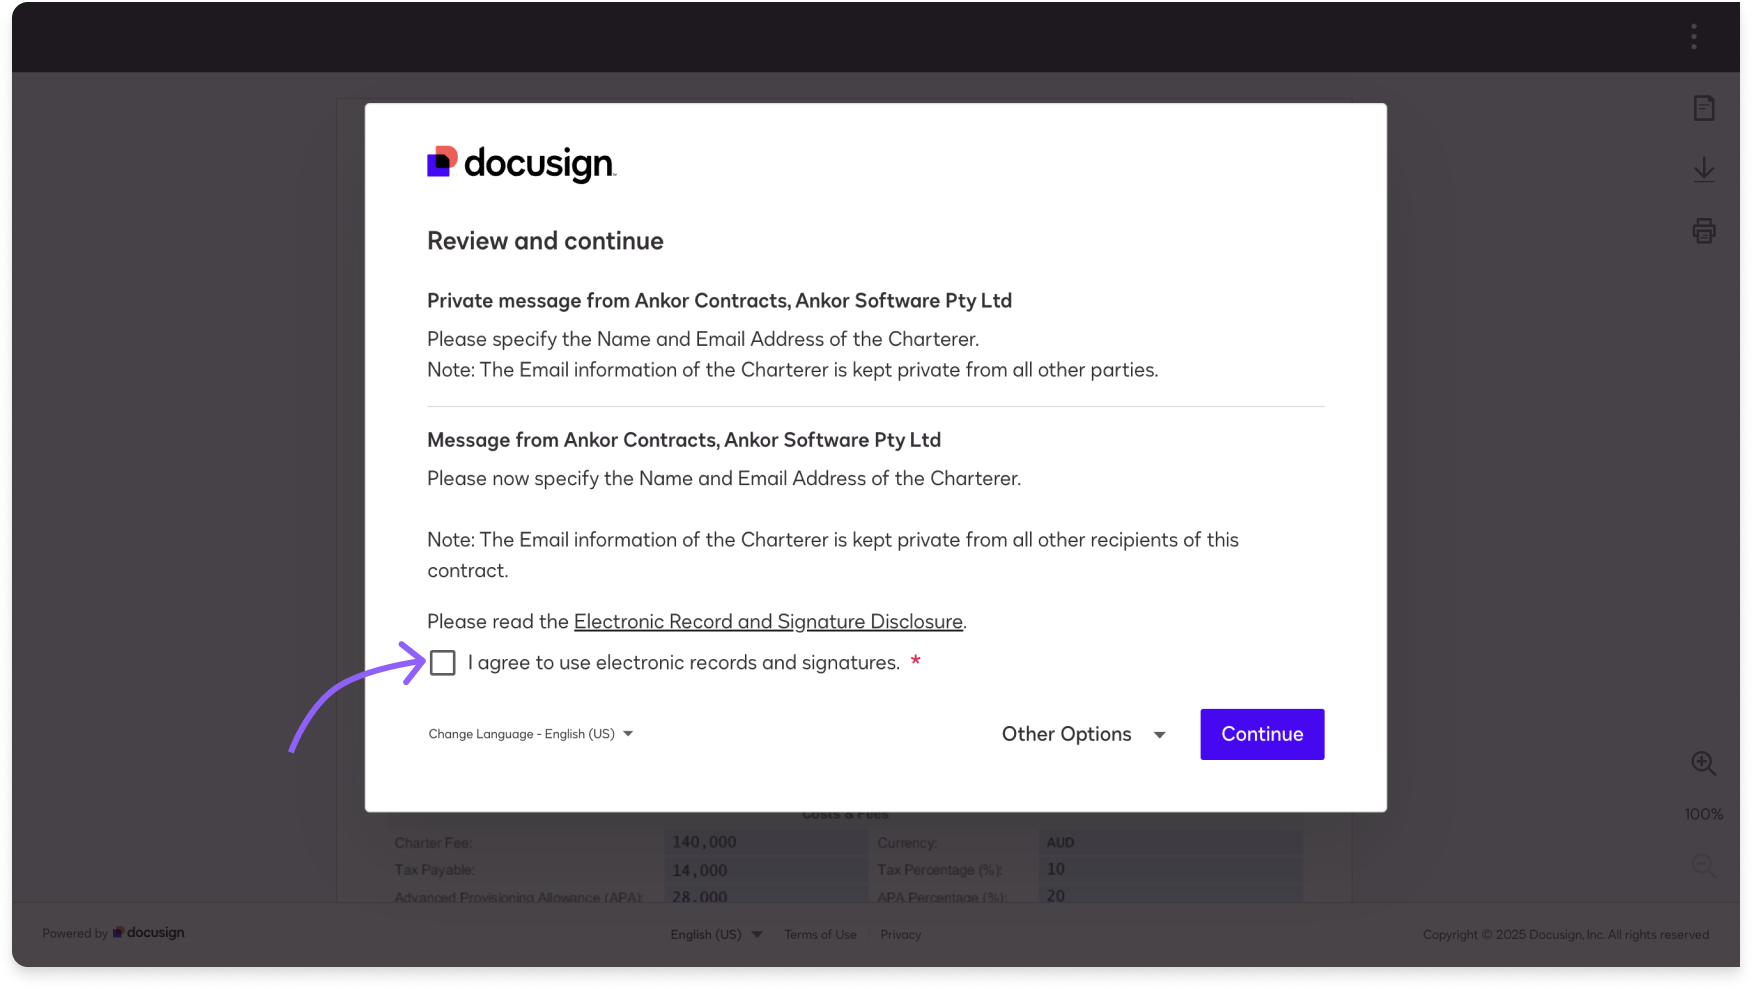
2. Agree to the electronic record and signature agreement and click 'Continue'.
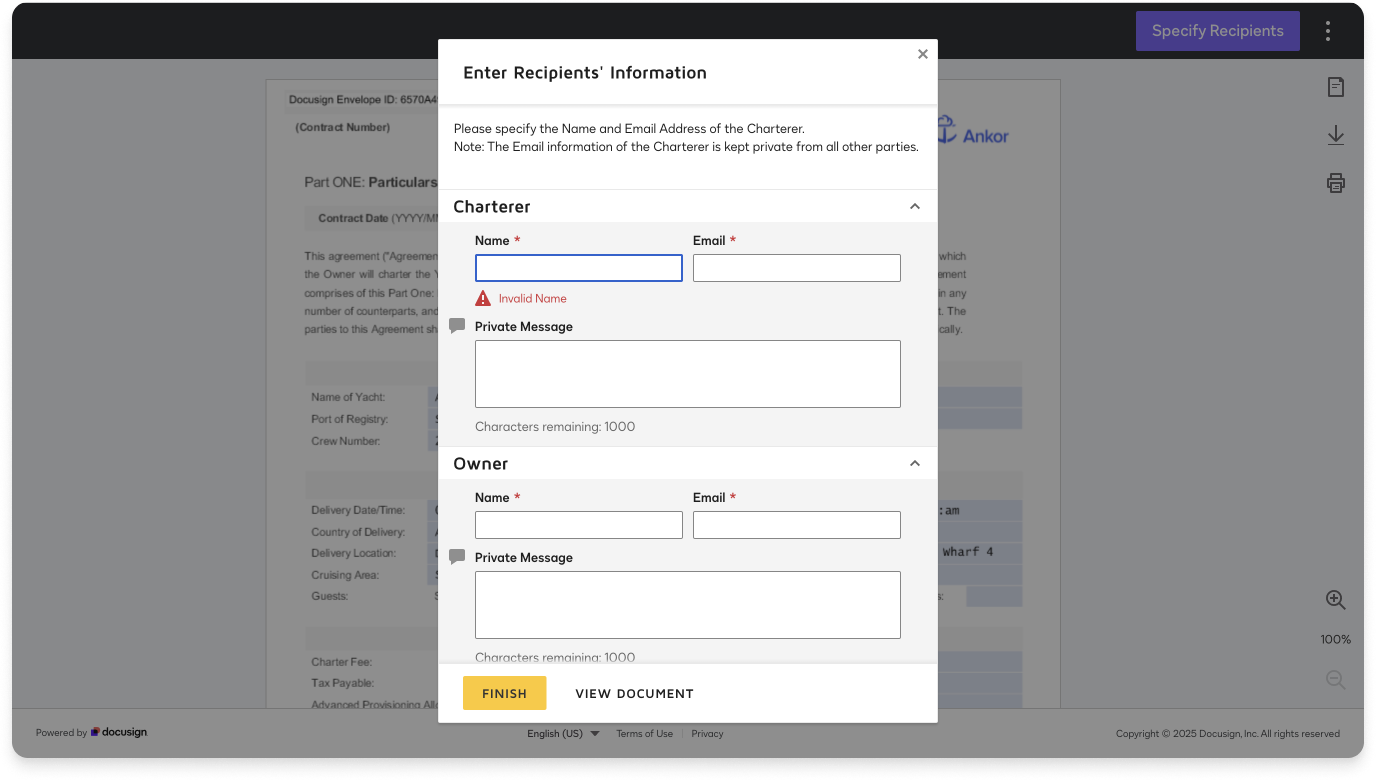
3. Fill in the Charterer and Owner details including emails and write a optional custom private message. Once filled, click 'Finish'.
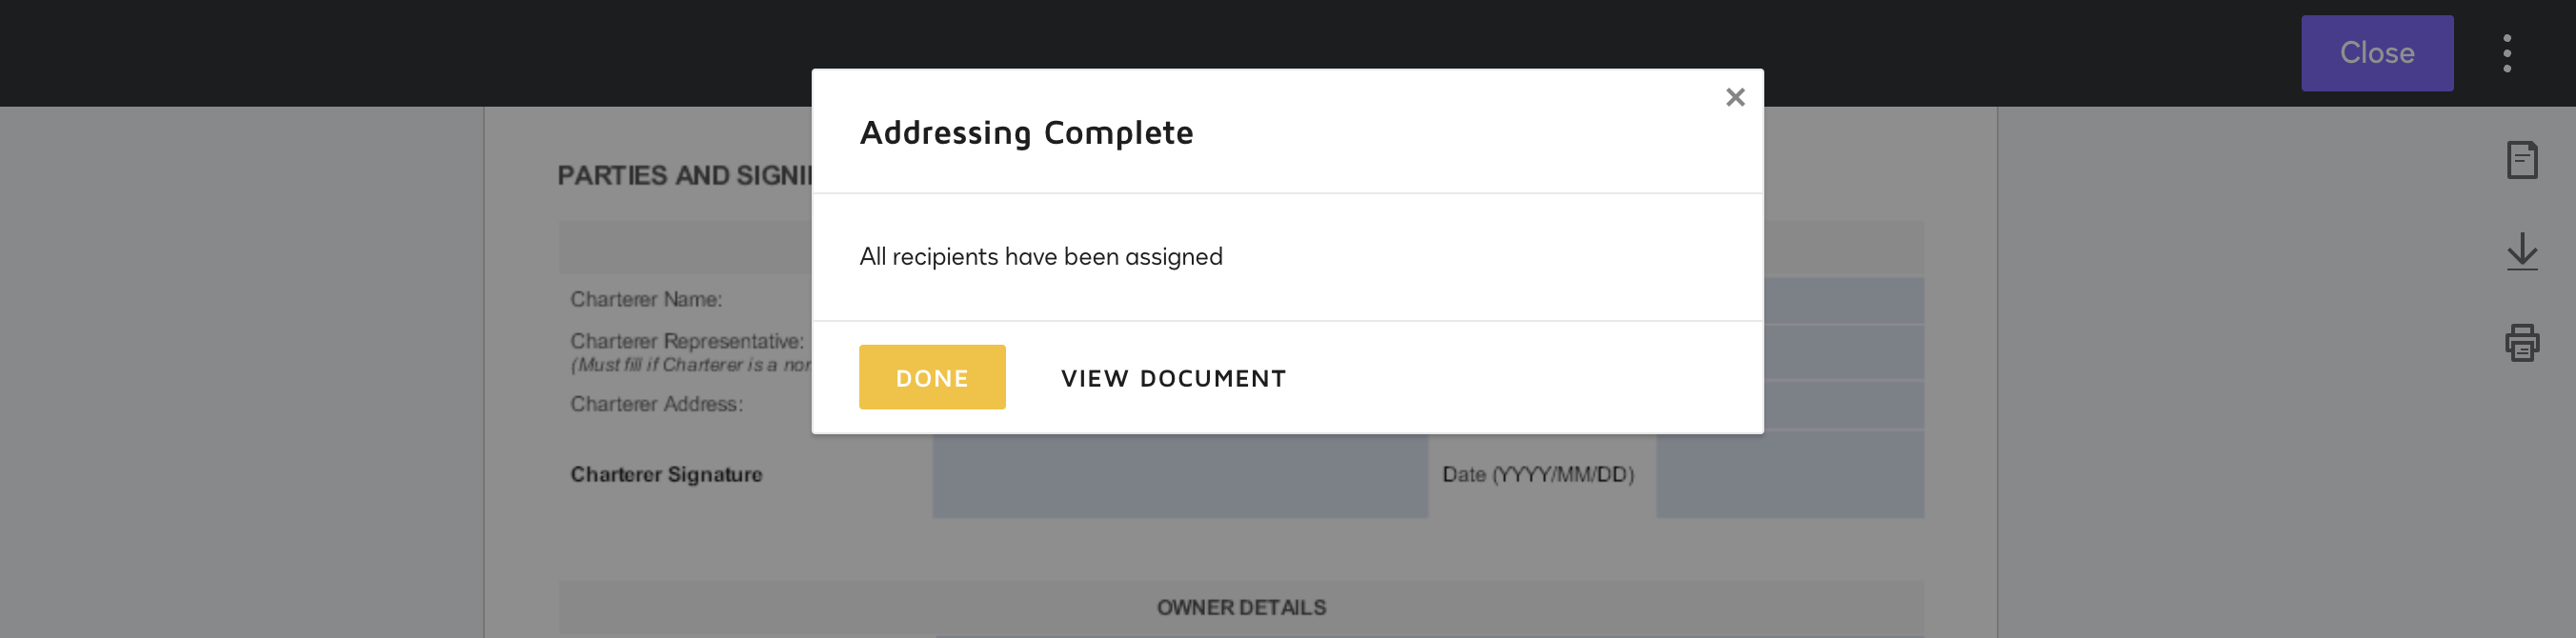
4. A confirmation message will appear once all recipients have been assigned, indicating that the Charterer, Owner, and Central Agent details have been entered and confirmed. Each party will receive an email from DocuSign to sign their portion of the contract, but only after the previous signatory has completed their signature.
The signing order in DocuSign will be:
- Charter Broker
- Charterer
- Central Agent
- Owner
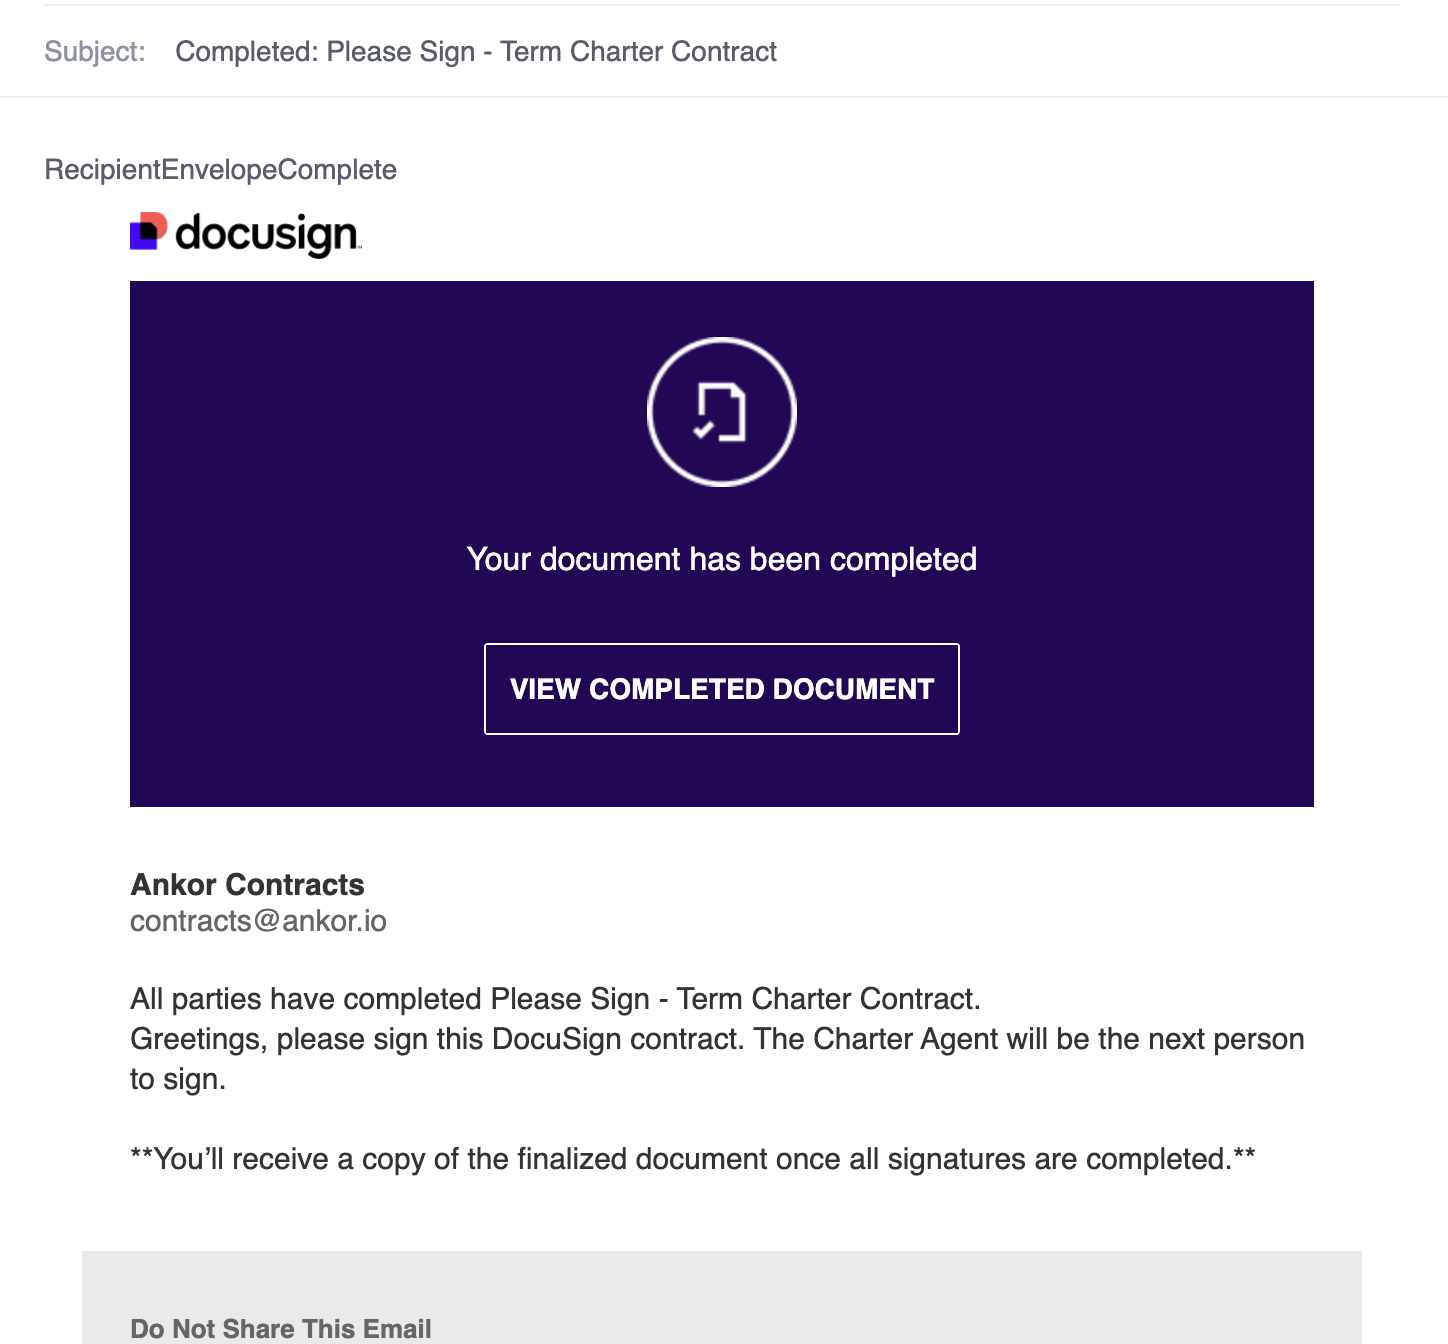
5. Once all parties have signed the contract, they each will recieve a email copy of the contract like the email example below. Click 'View Completed Document' to get a copy of the final contract.
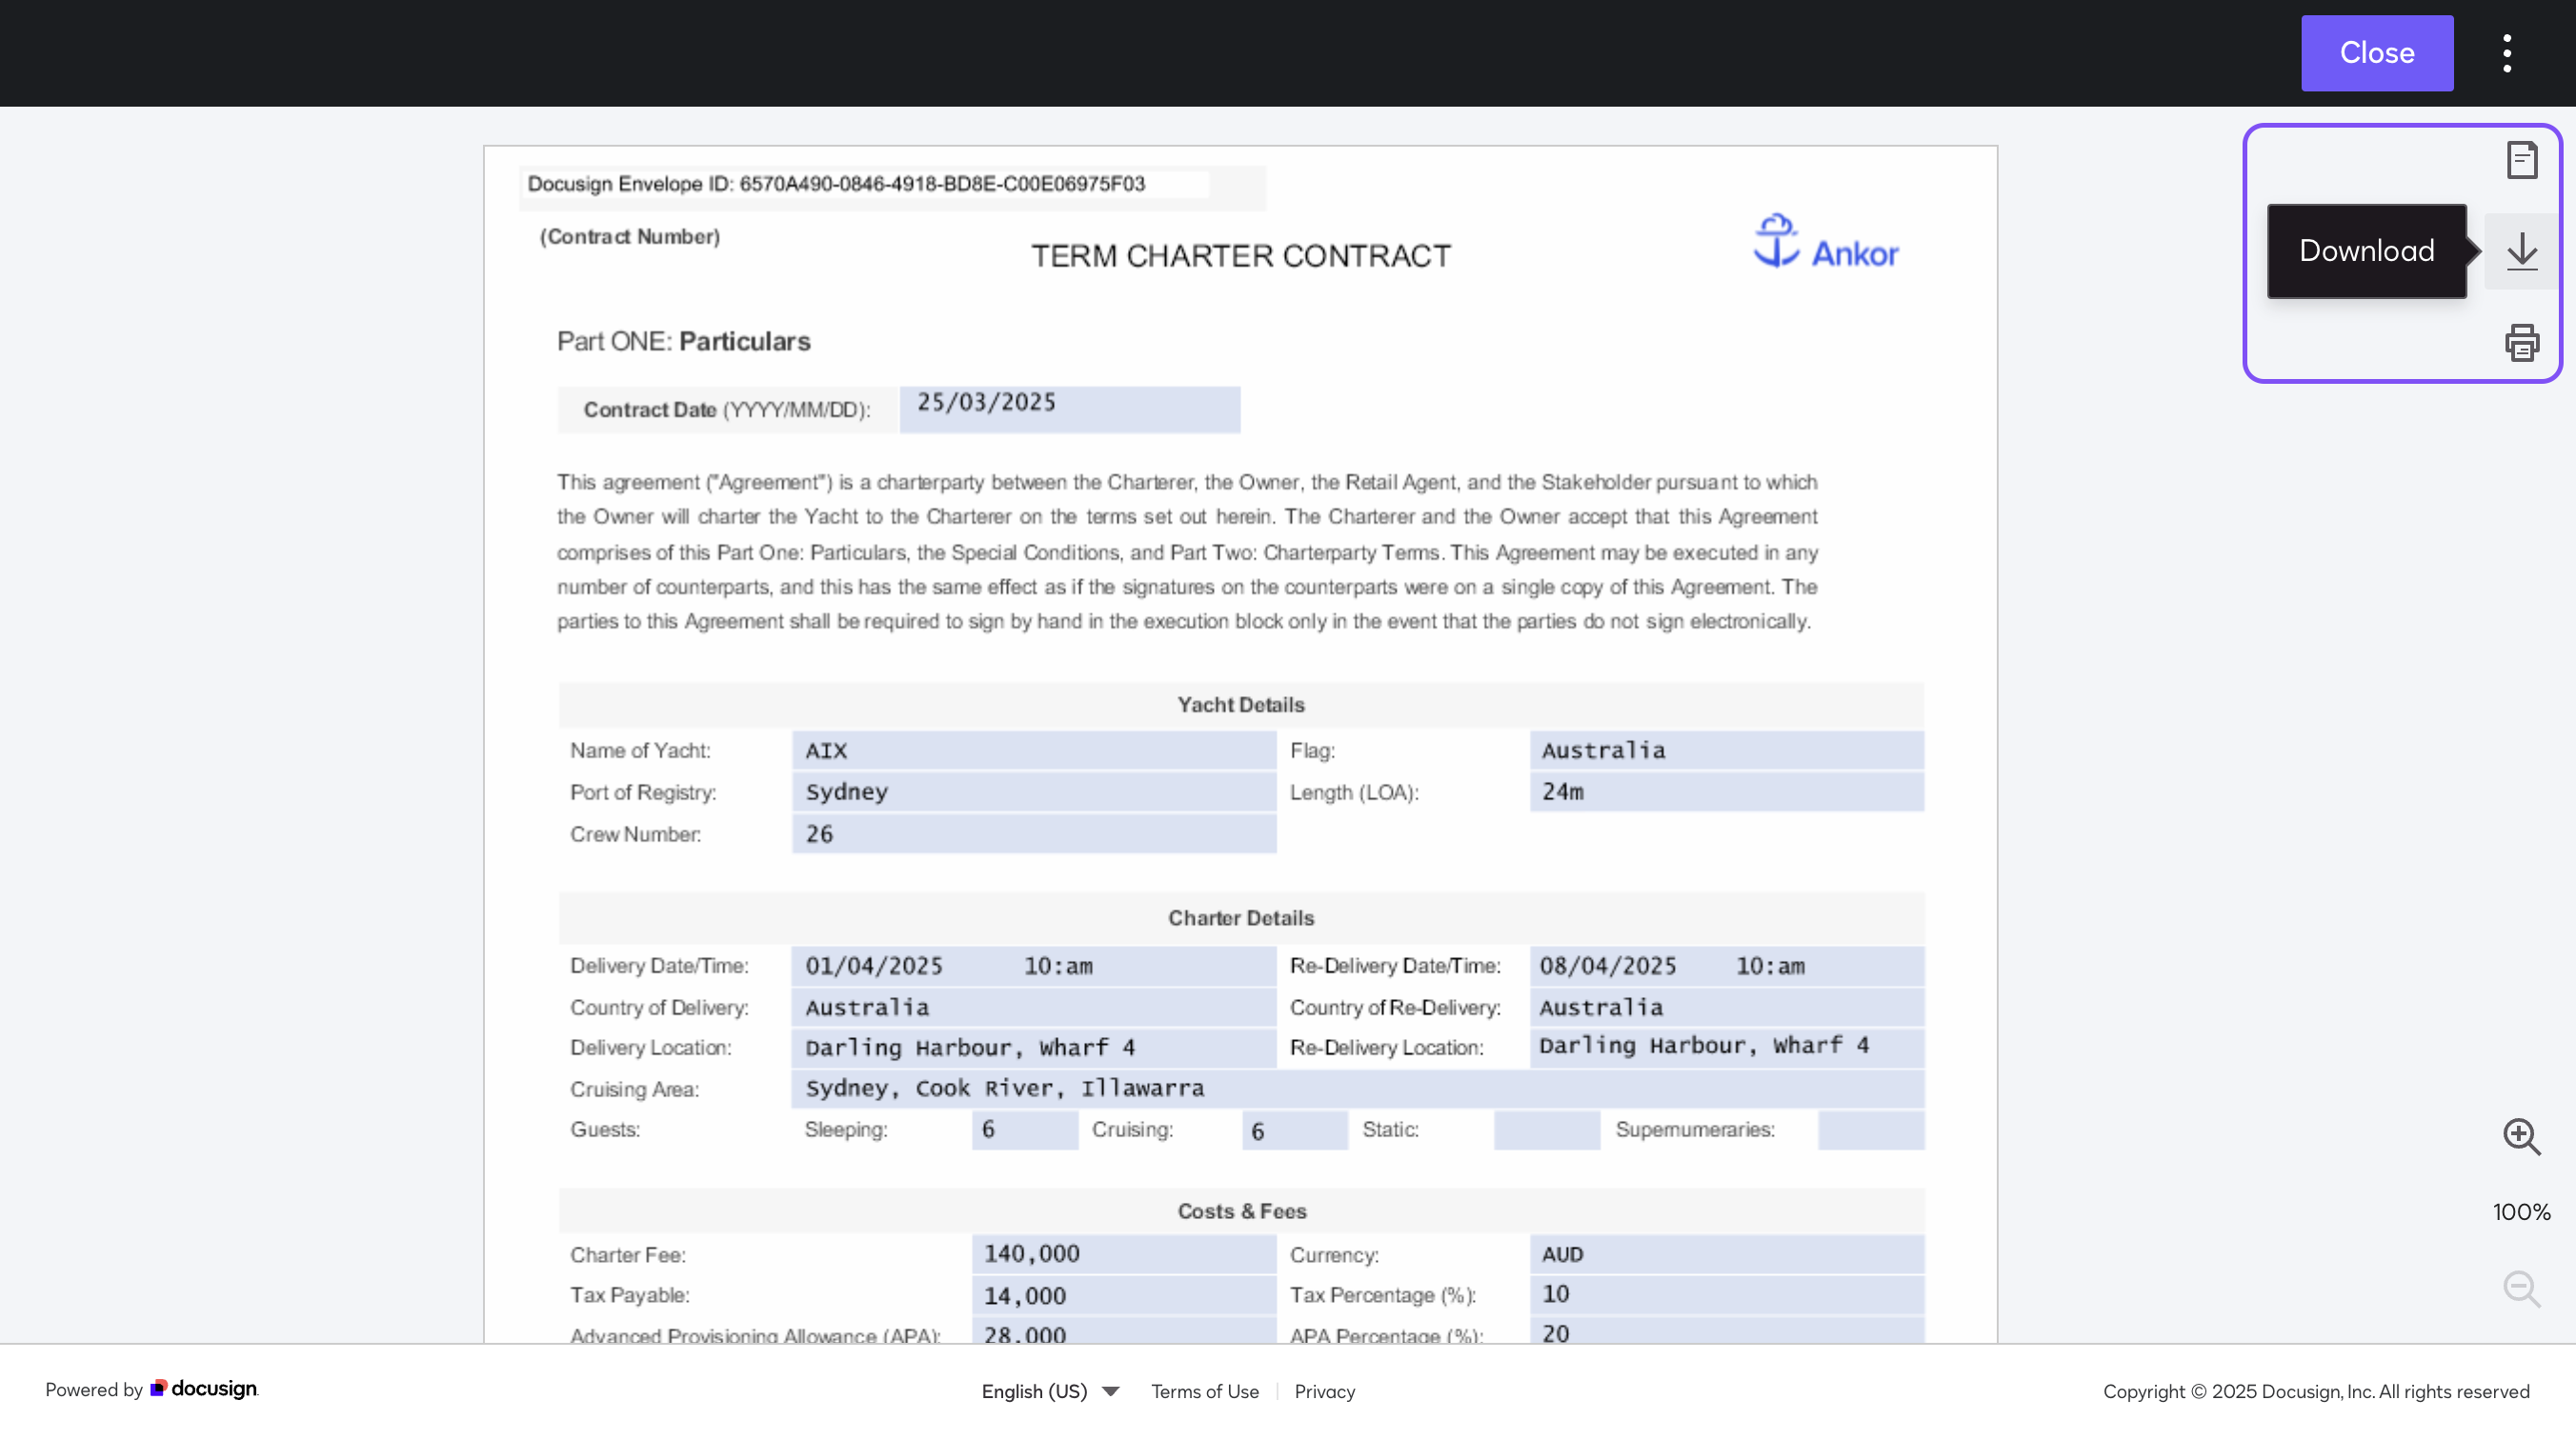
6. Each user can download a copy or contract straight from docusign.
Still Need Help?
Speak to our Customer Success team, who are here to support you via support@ankor.io or chat with us using the Life ring Help feature at the bottom right of our application.