
The Yacht Summary Section
Introduction
The Yacht Summary Section is designed for presentations that focus primarily on showcasing the itinerary, with a brief highlight of a yacht.
Ankor’s Yacht section allows you to seamlessly insert a yacht from Ankor’s database of over 5,000 yachts. This feature enables you to showcase yachts anywhere in your presentation, making it easy to present options to charterers. Alternatively, you can use this section as a blank template and input your own yacht details.
How to add a Yacht Summary Section to your Presentation
To add a Yacht Summary Section to your presentation, follow these steps:
- Start by opening a new Presentation and adding at least one Route to the presentation.
- Next, click the customise and share tab located at the top of the screen.
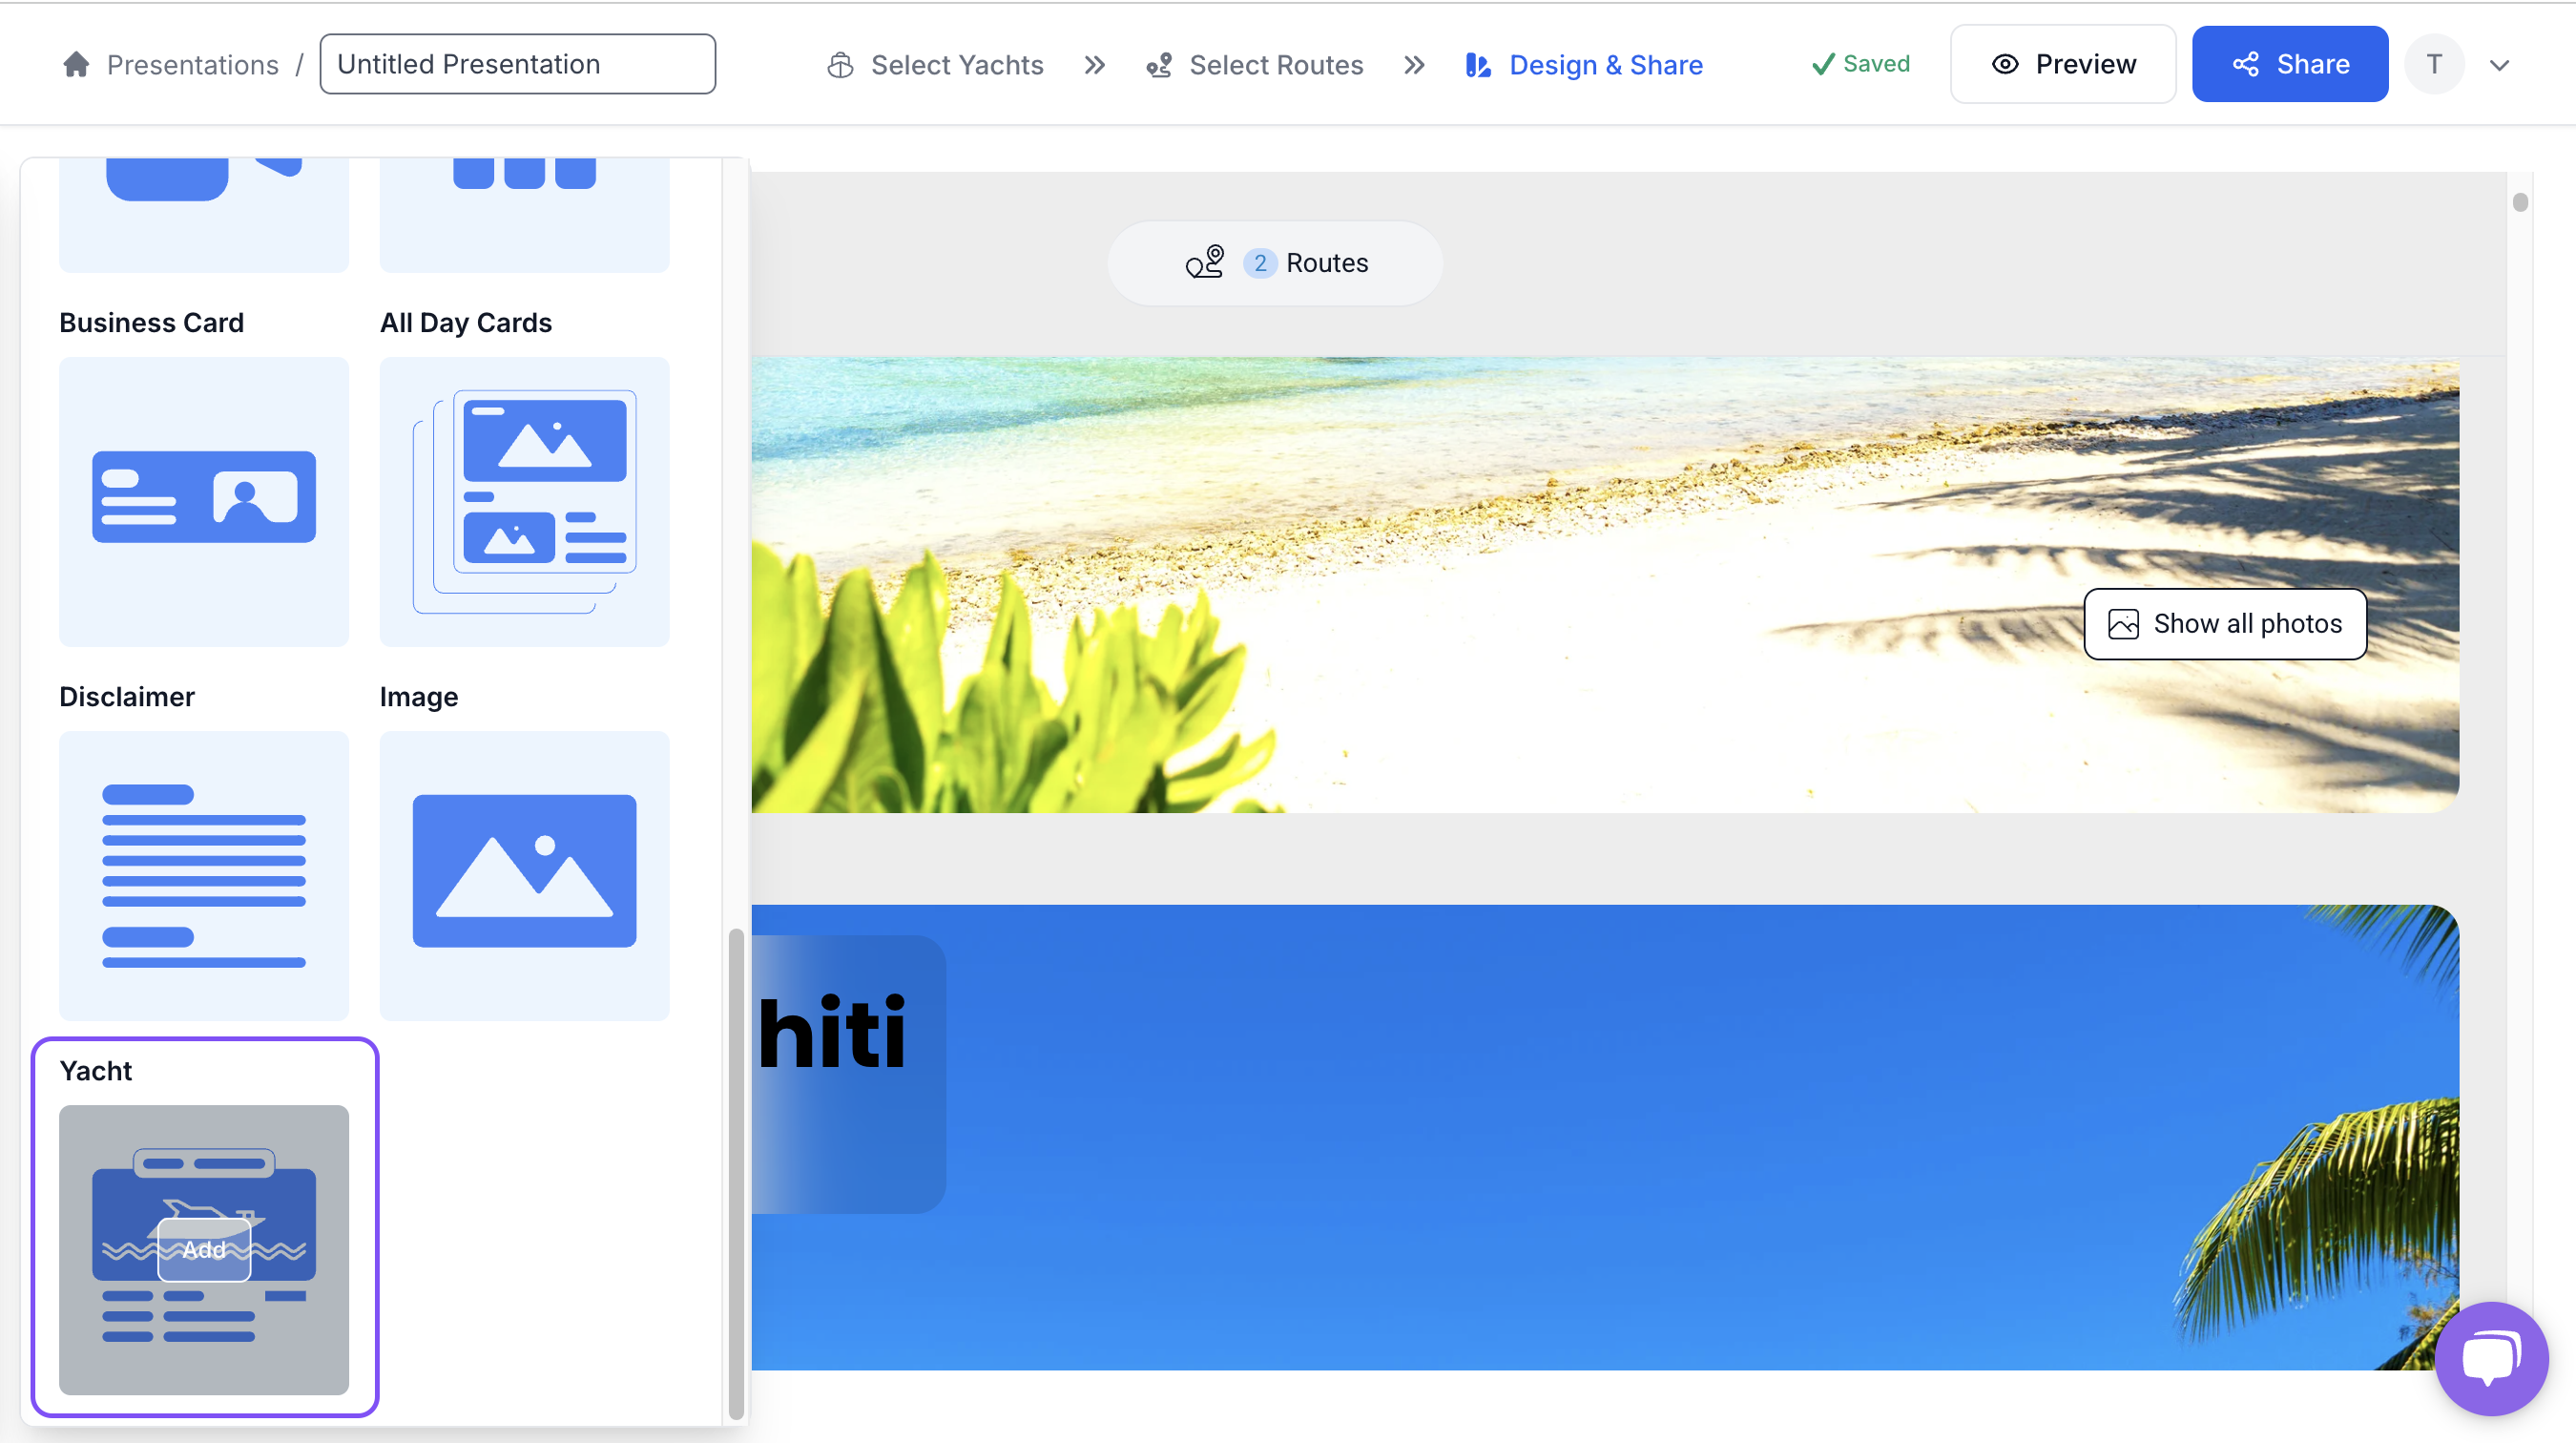
- Go to the area where you would like to add the Yacht Summary Section and click the button that appears when you hover between sections titled 'Add Section'.

4. Find and select the yacht summary section from the section selection panel.
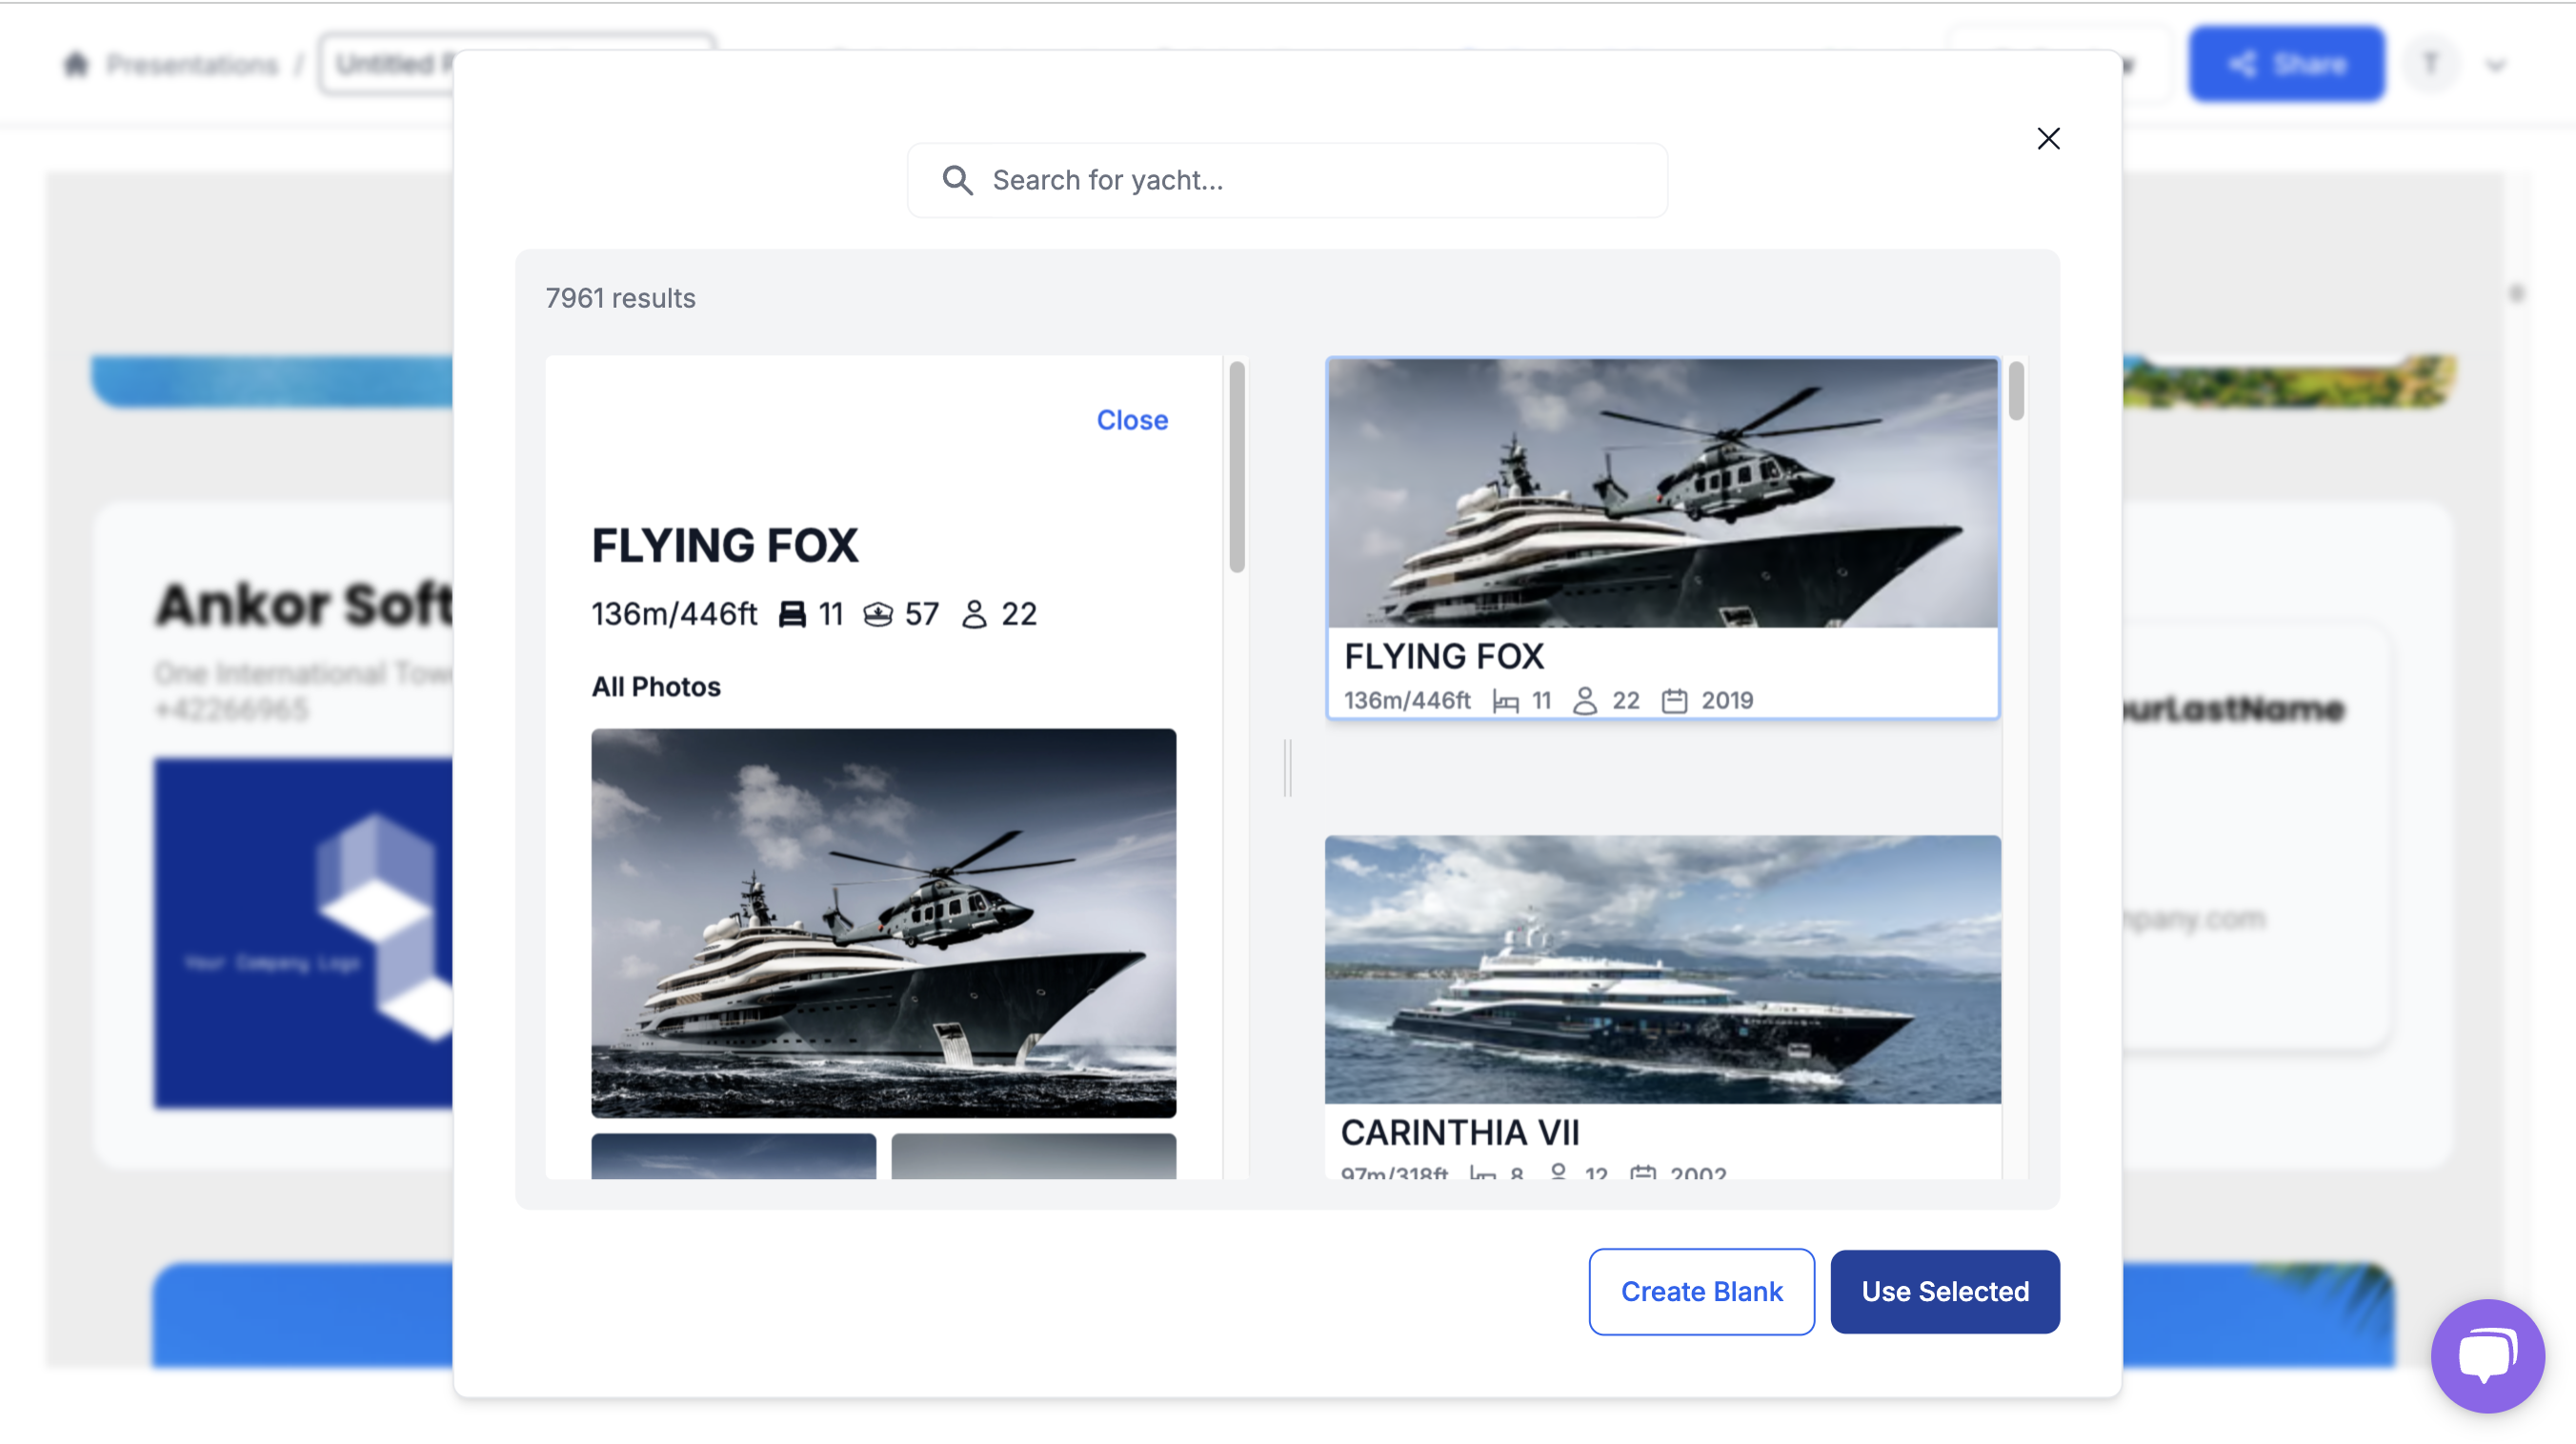
5. Use the pop up modal to search and add the desired yacht you wish to show. When selected, the section will fill with data from that yacht. Click on any yacht to preview its content before use.
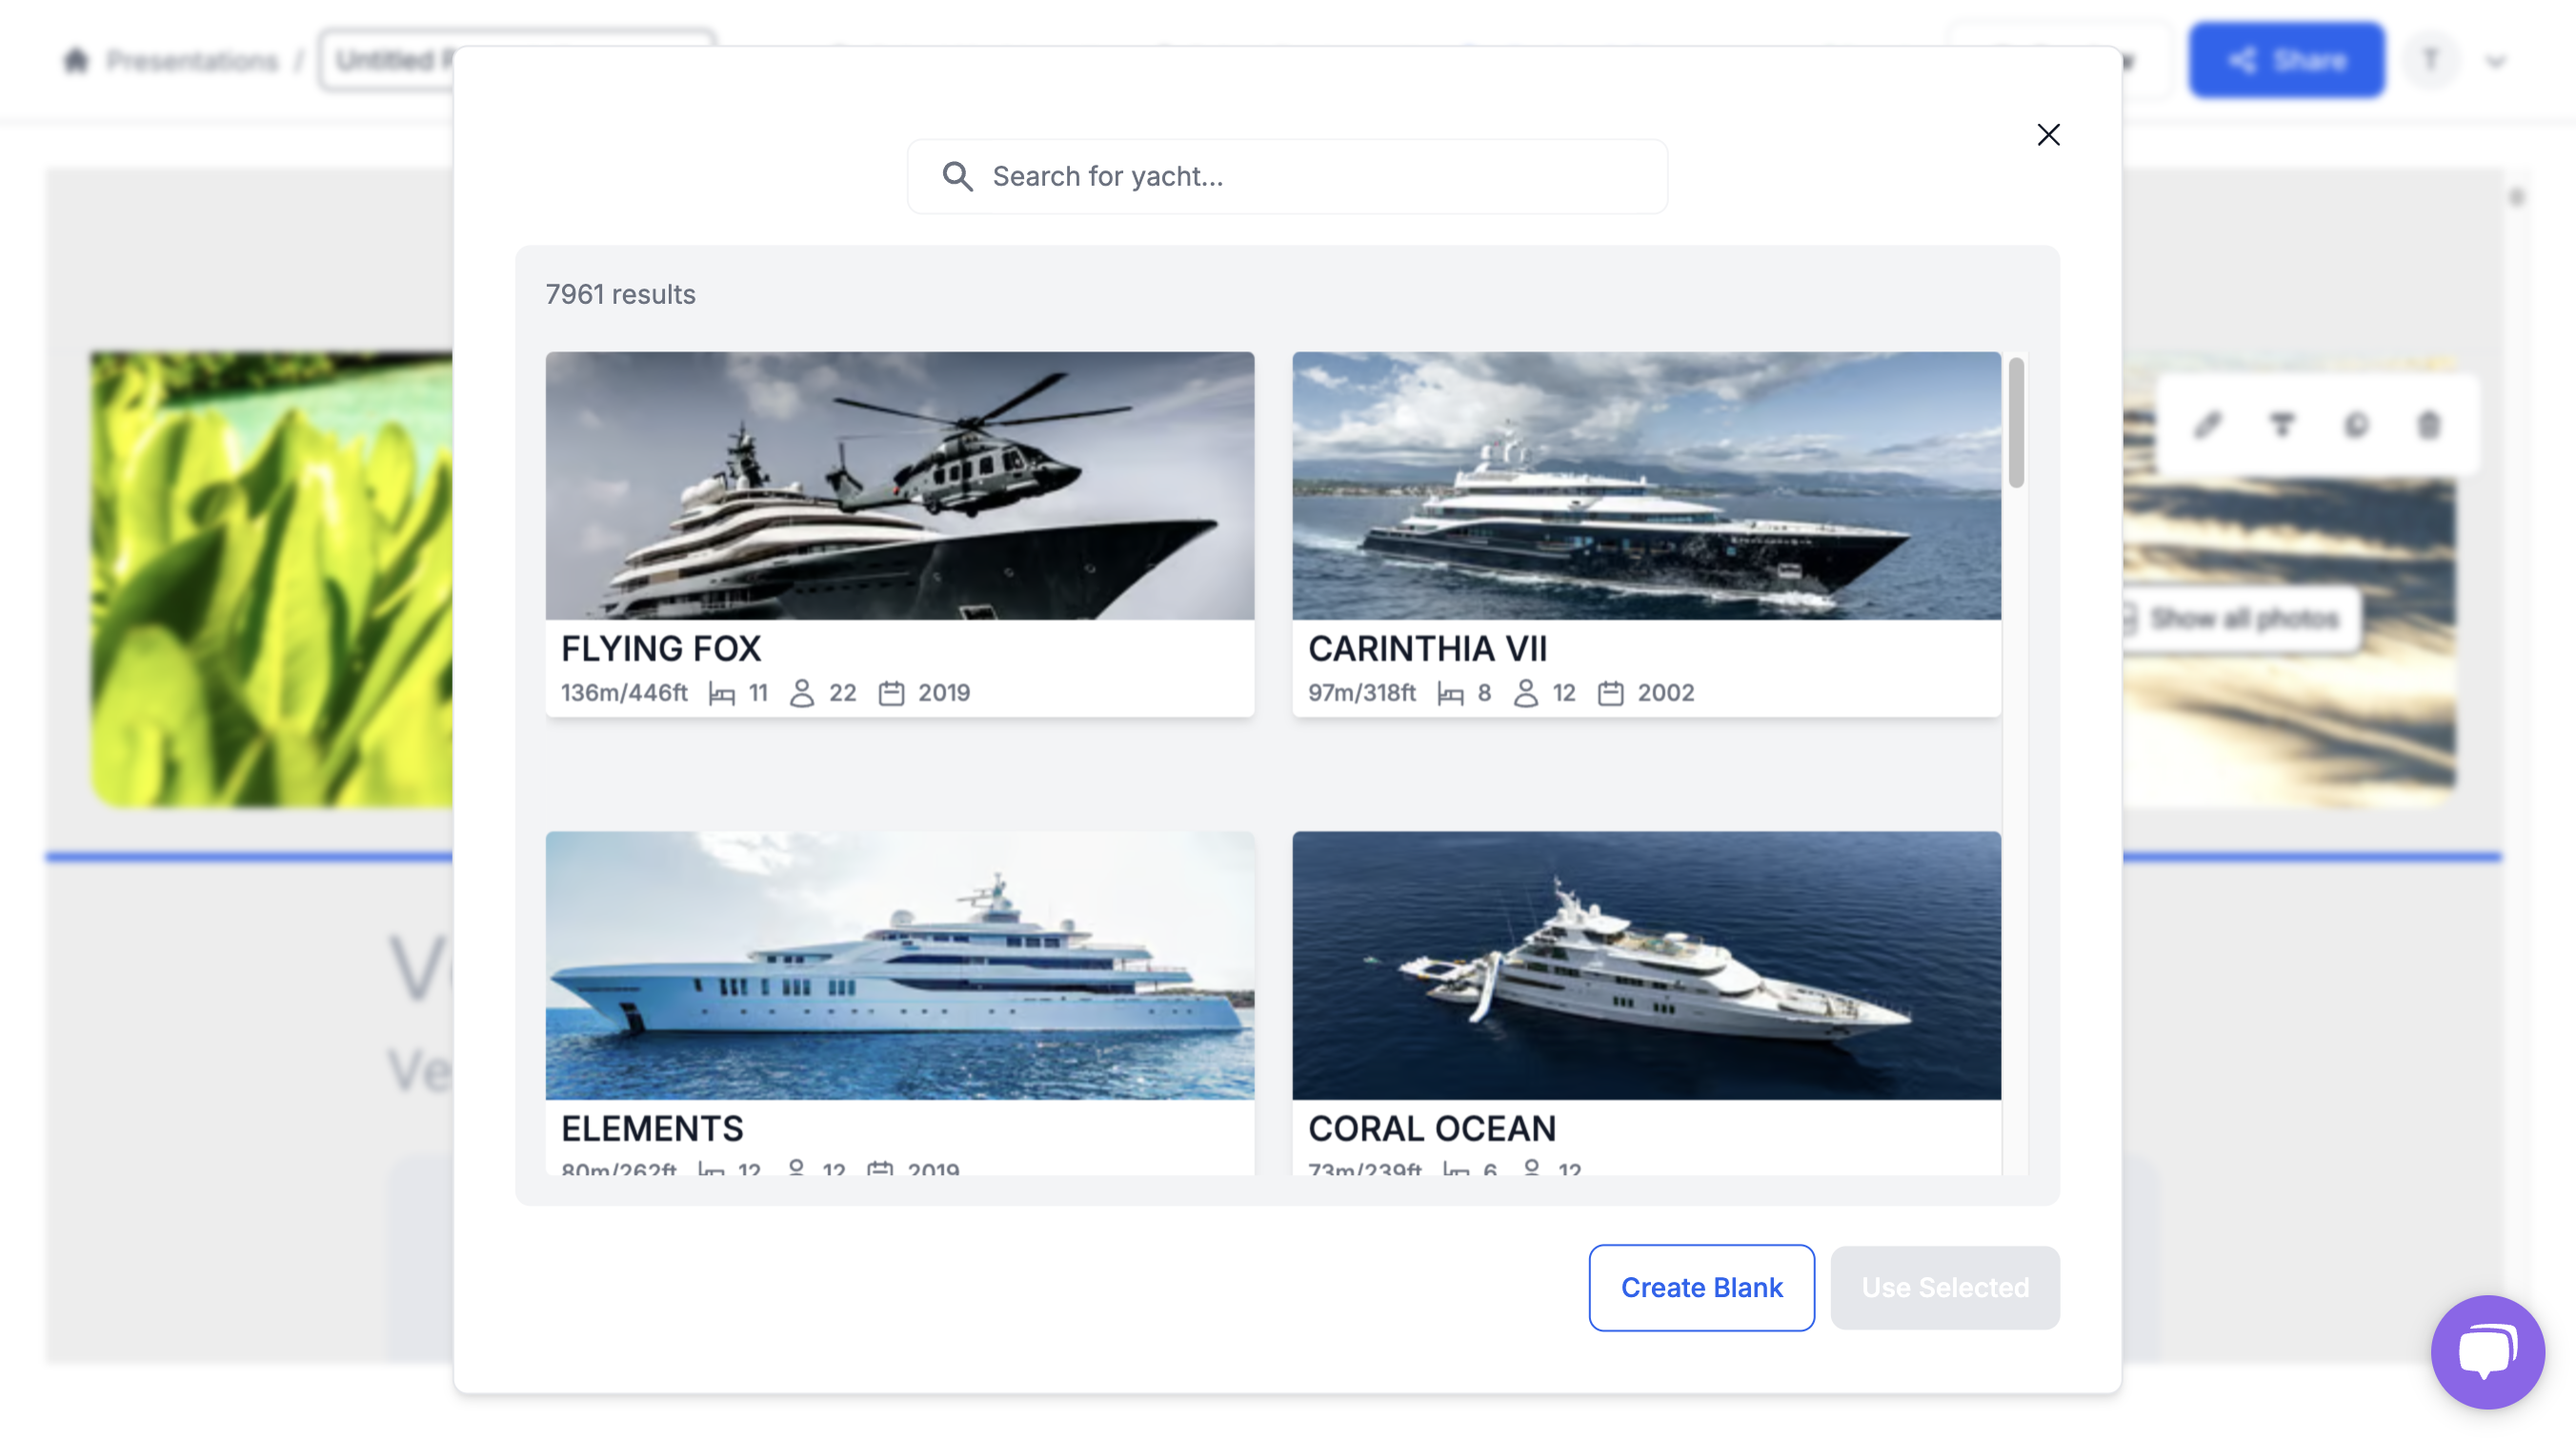
6. To finalise the selection, click the 'Use Selected' button.
Note: If you'd like to use this as a blank section, simply click the "Create Blank" button in the bottom-right of the pop-up
Customising the Yacht Summary Section
As with other objects/sections in your Trips presentation, you can fully edit all of the information within the yacht object.
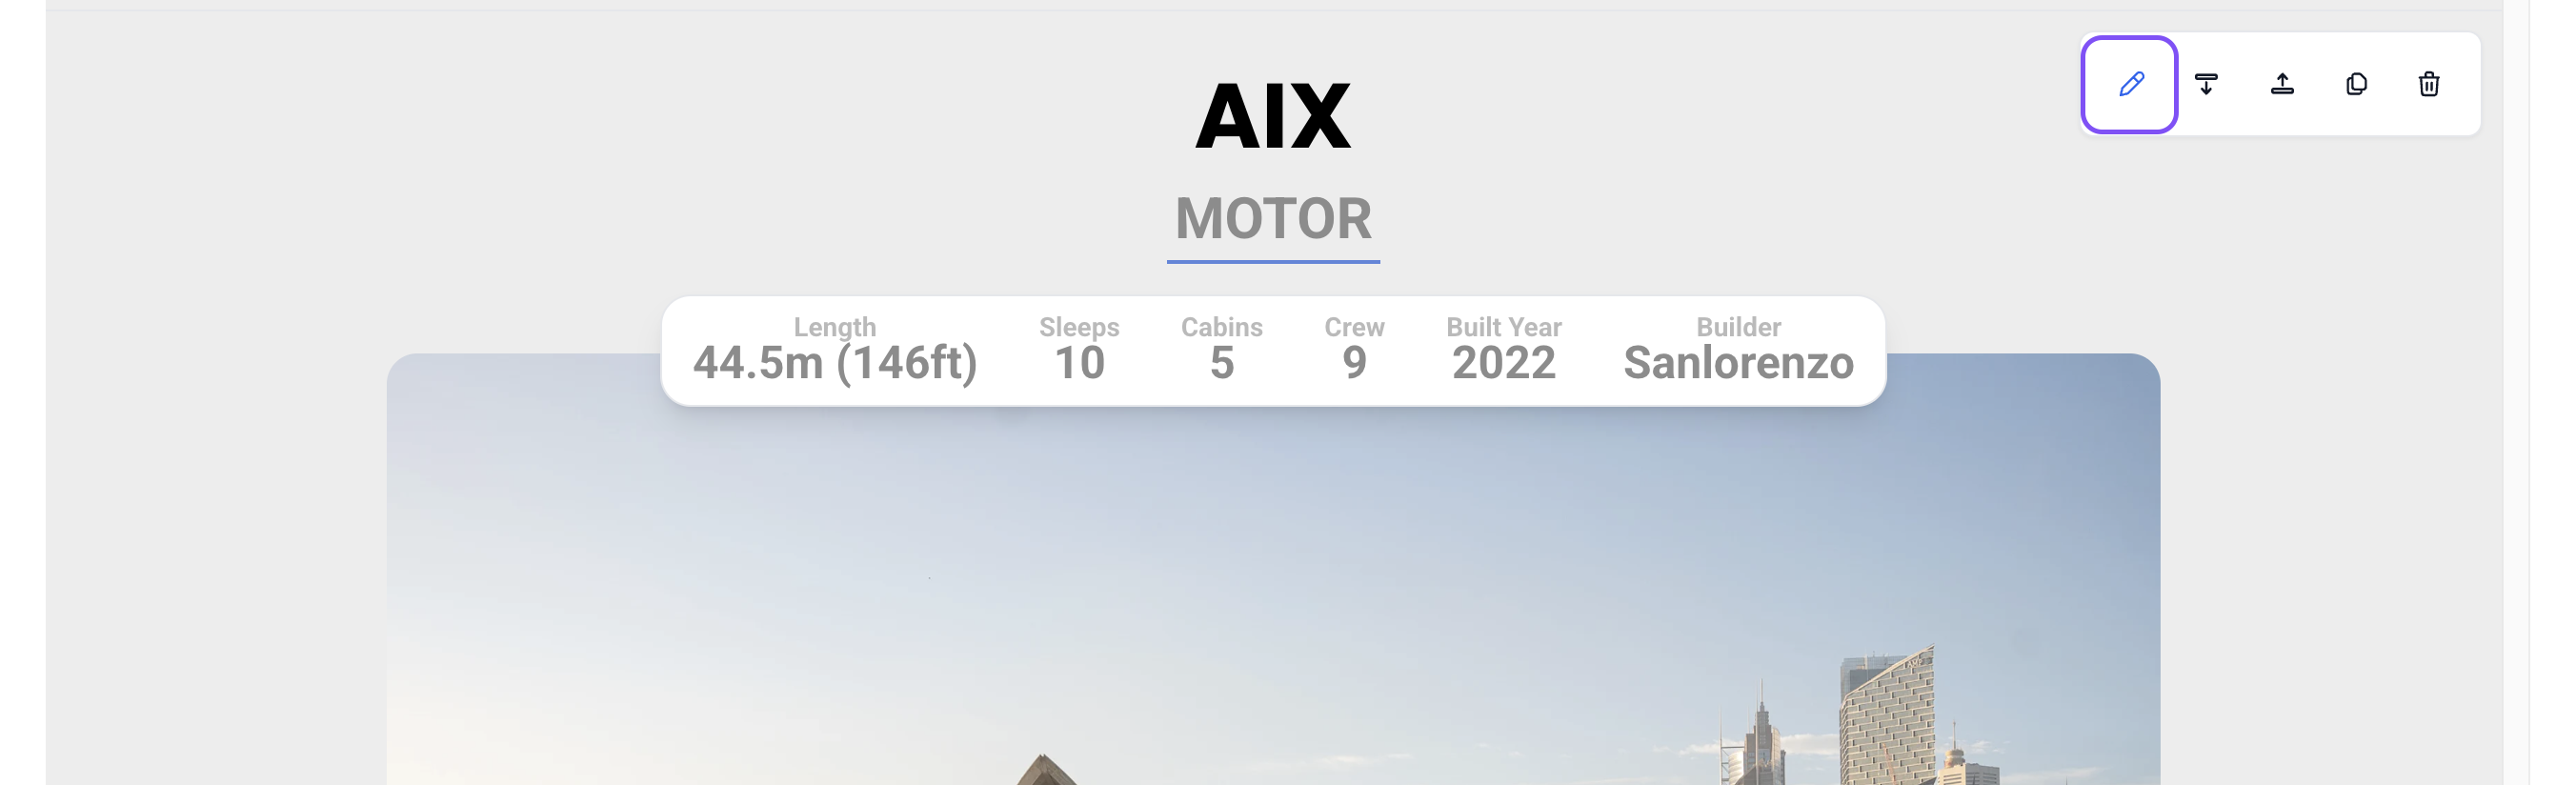
- The Yacht Name, Type, Description and Highlights display above the images.
- The Button, Features and Pricing table display below the images.
Click (almost) anywhere to edit the information displayed. You can also expand/collapse, add, remove and reorder the feature tiles below the images as you see fit.
Editing the Pricing table
The Pricing table appears at the bottom of the Pricing grid, automatically calculating your inputs to quickly and easily display all of your pricing details.
- Top-reft: Add a note above the pricing table
- Top-right:
- Select whether prices are Weekly, Daily or Hourly
- Select your display currency
Note: This is for display only, and does not consider currency exchange rates
Select whether amounts are Tax Inclusive, Tax Exclusive or there is No Tax
Note: This will impact how tax is factored into the Total amount (see below)
To hide/show certain columns, hover over the table and click the gear icon in the top-right of the table area
To add a row to your table, click the "+ Add a line" button in the bottom-left of the table area
Enter or edit the following
- Item labels
- Conditions (aka item notes)
- Quantity
- Price (note: this must be entered as numbers only, with no commas)
- Discount
- Select Percentage or Amount
- Input the Discount Value
- Tax Rate
- Enter the Tax Rate Name
- Input the tax rate as a percentage (%)
Amount: This is the calculated value of the equation "(Quantity x Price) - Discount"
Subtotal: This is the Sum of the entire Amount column
Included tax: This is the Sum of calculated tax from each row
Total:
- If Tax Inclusive: This is equal to the Sub-total (Included tax amount is display only)
- If Tax Exclusive: This is equal to "Subtotal + Included Tax"
- If No Tax: This is equal to the Sub-total
Configuration of the Yacht section
You can use the configuration panel to edit how the Yacht section appears and behaves.
- To open the configuration panel, click on the edit icon of the Yacht section (top-right corner of the section area).
- The Settings tab allows you to configure the section, and the Gallery tab allows you to manage the images that display in the section.
- Use the Image Width and Image Height options to edit the size of the image carousel.
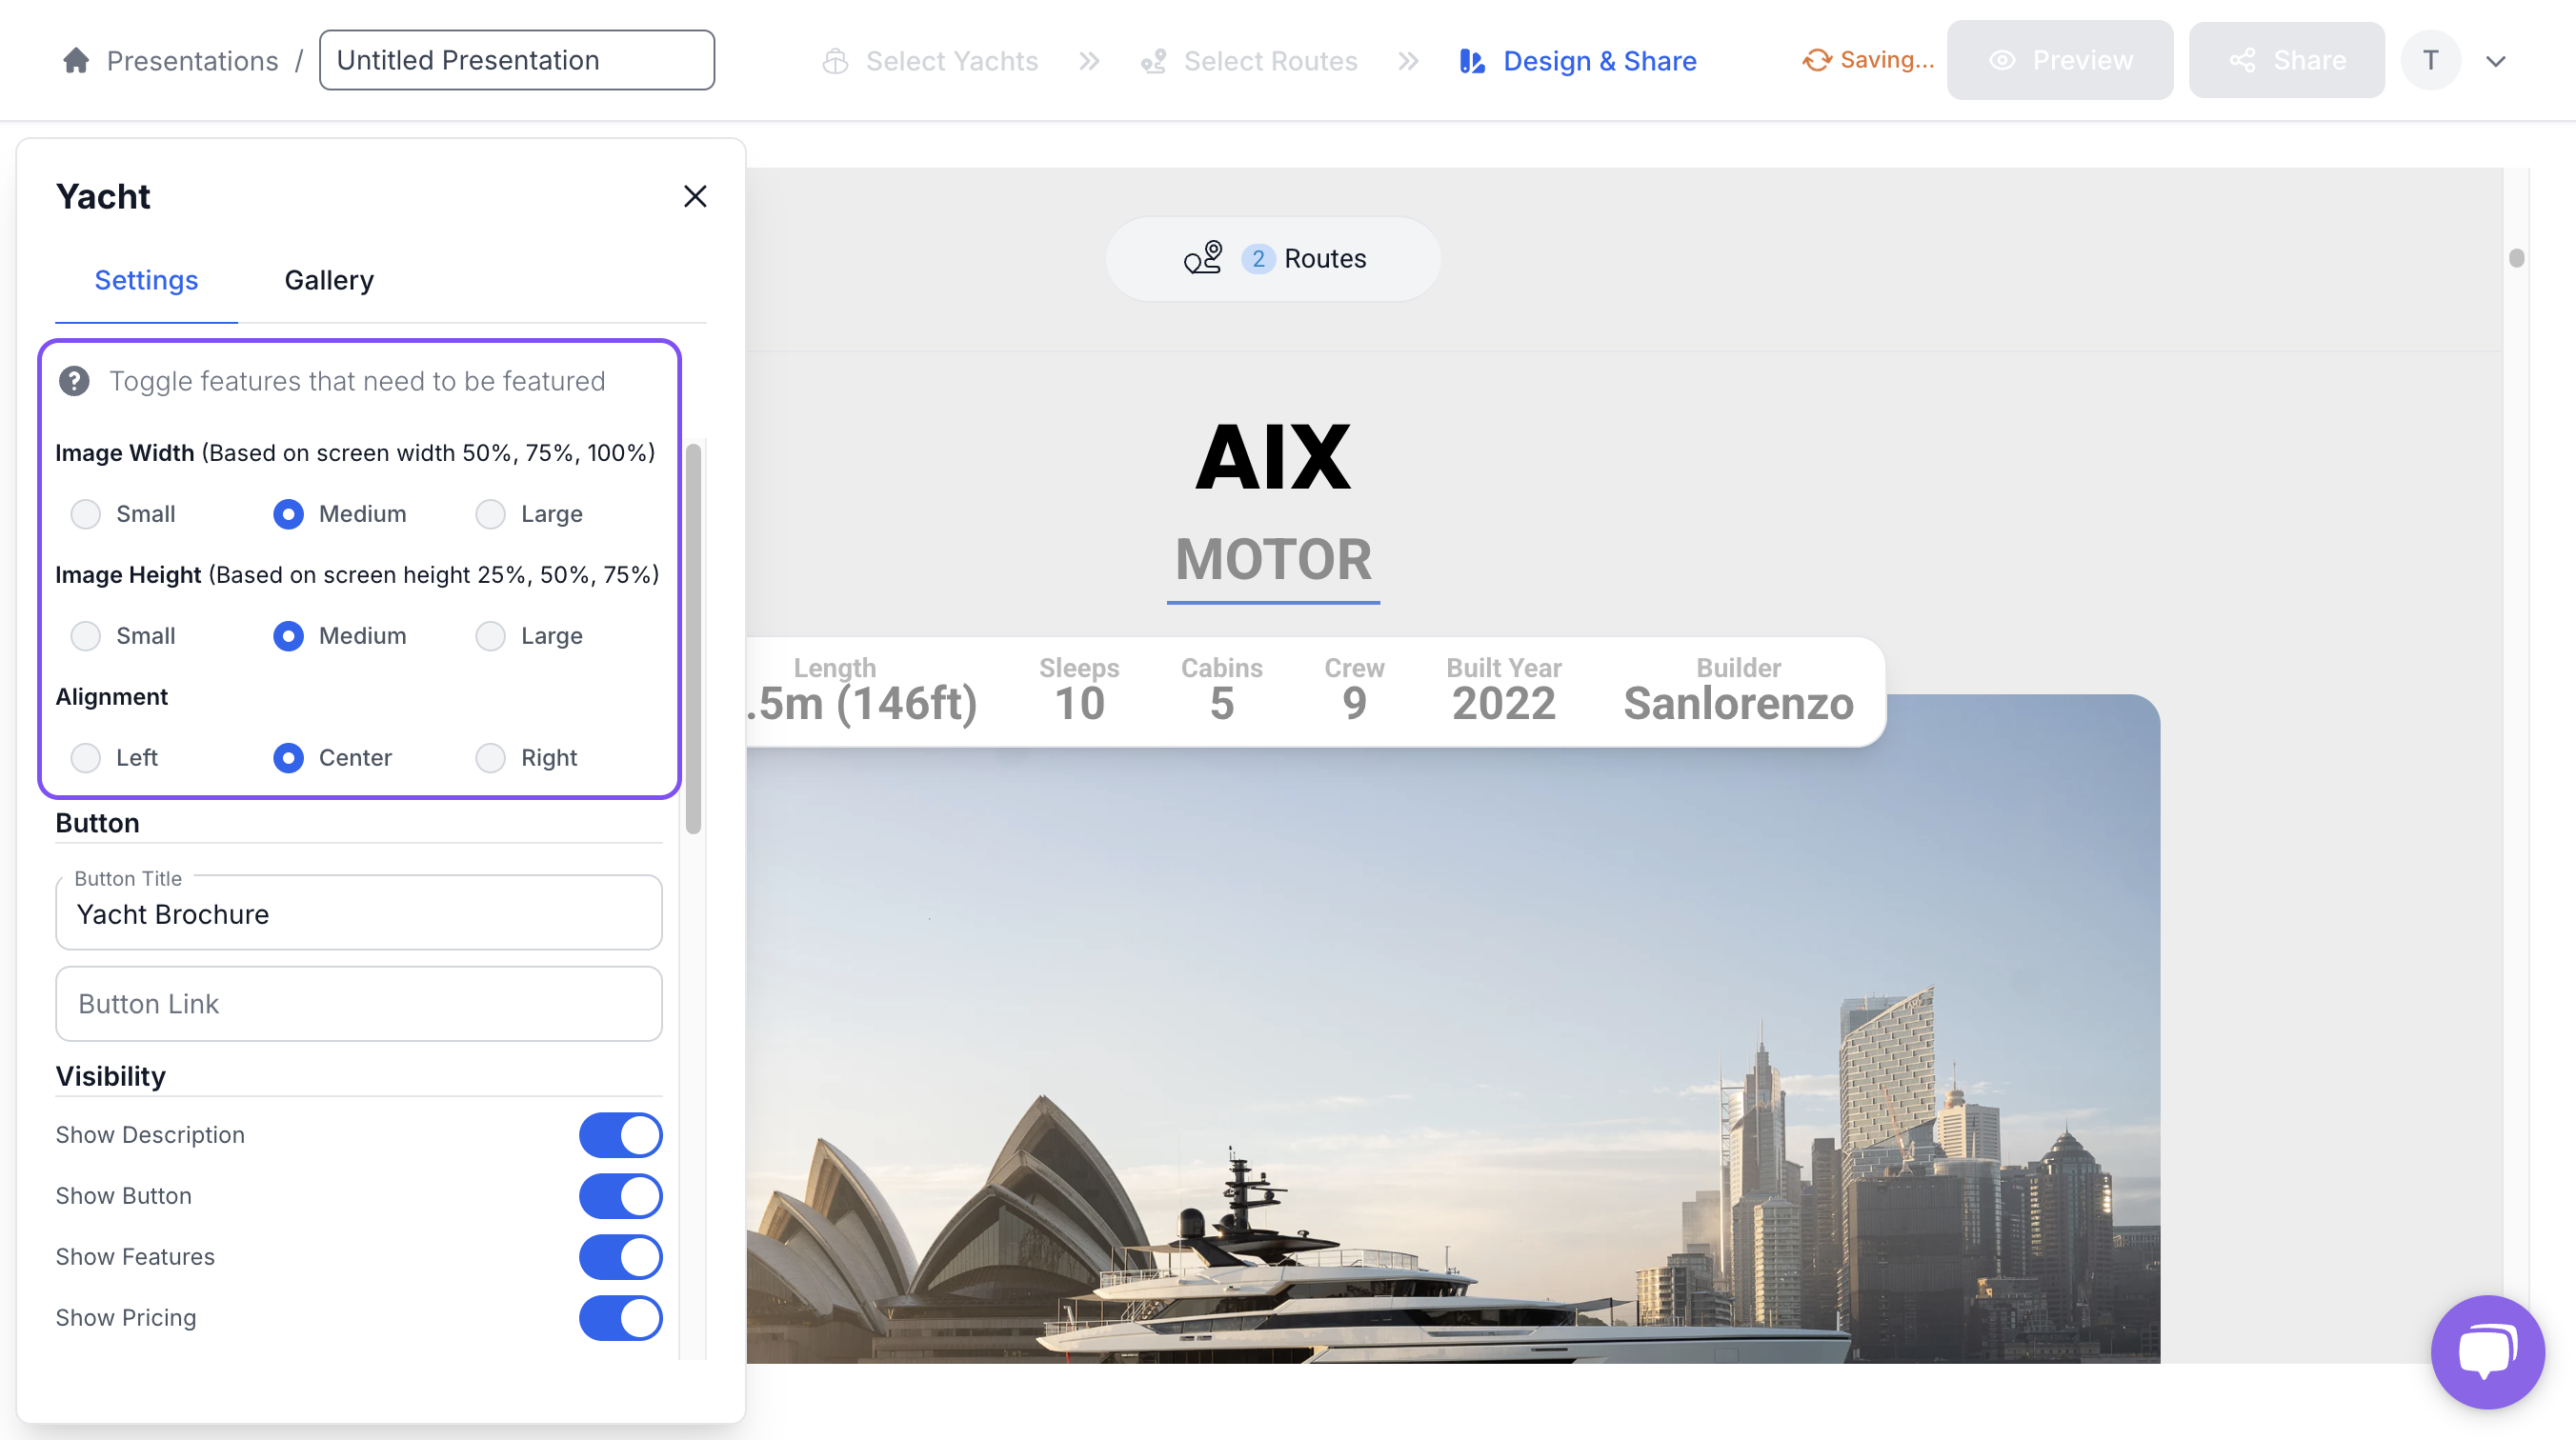
- Use the Alignment options to set the alignment of the section's components.
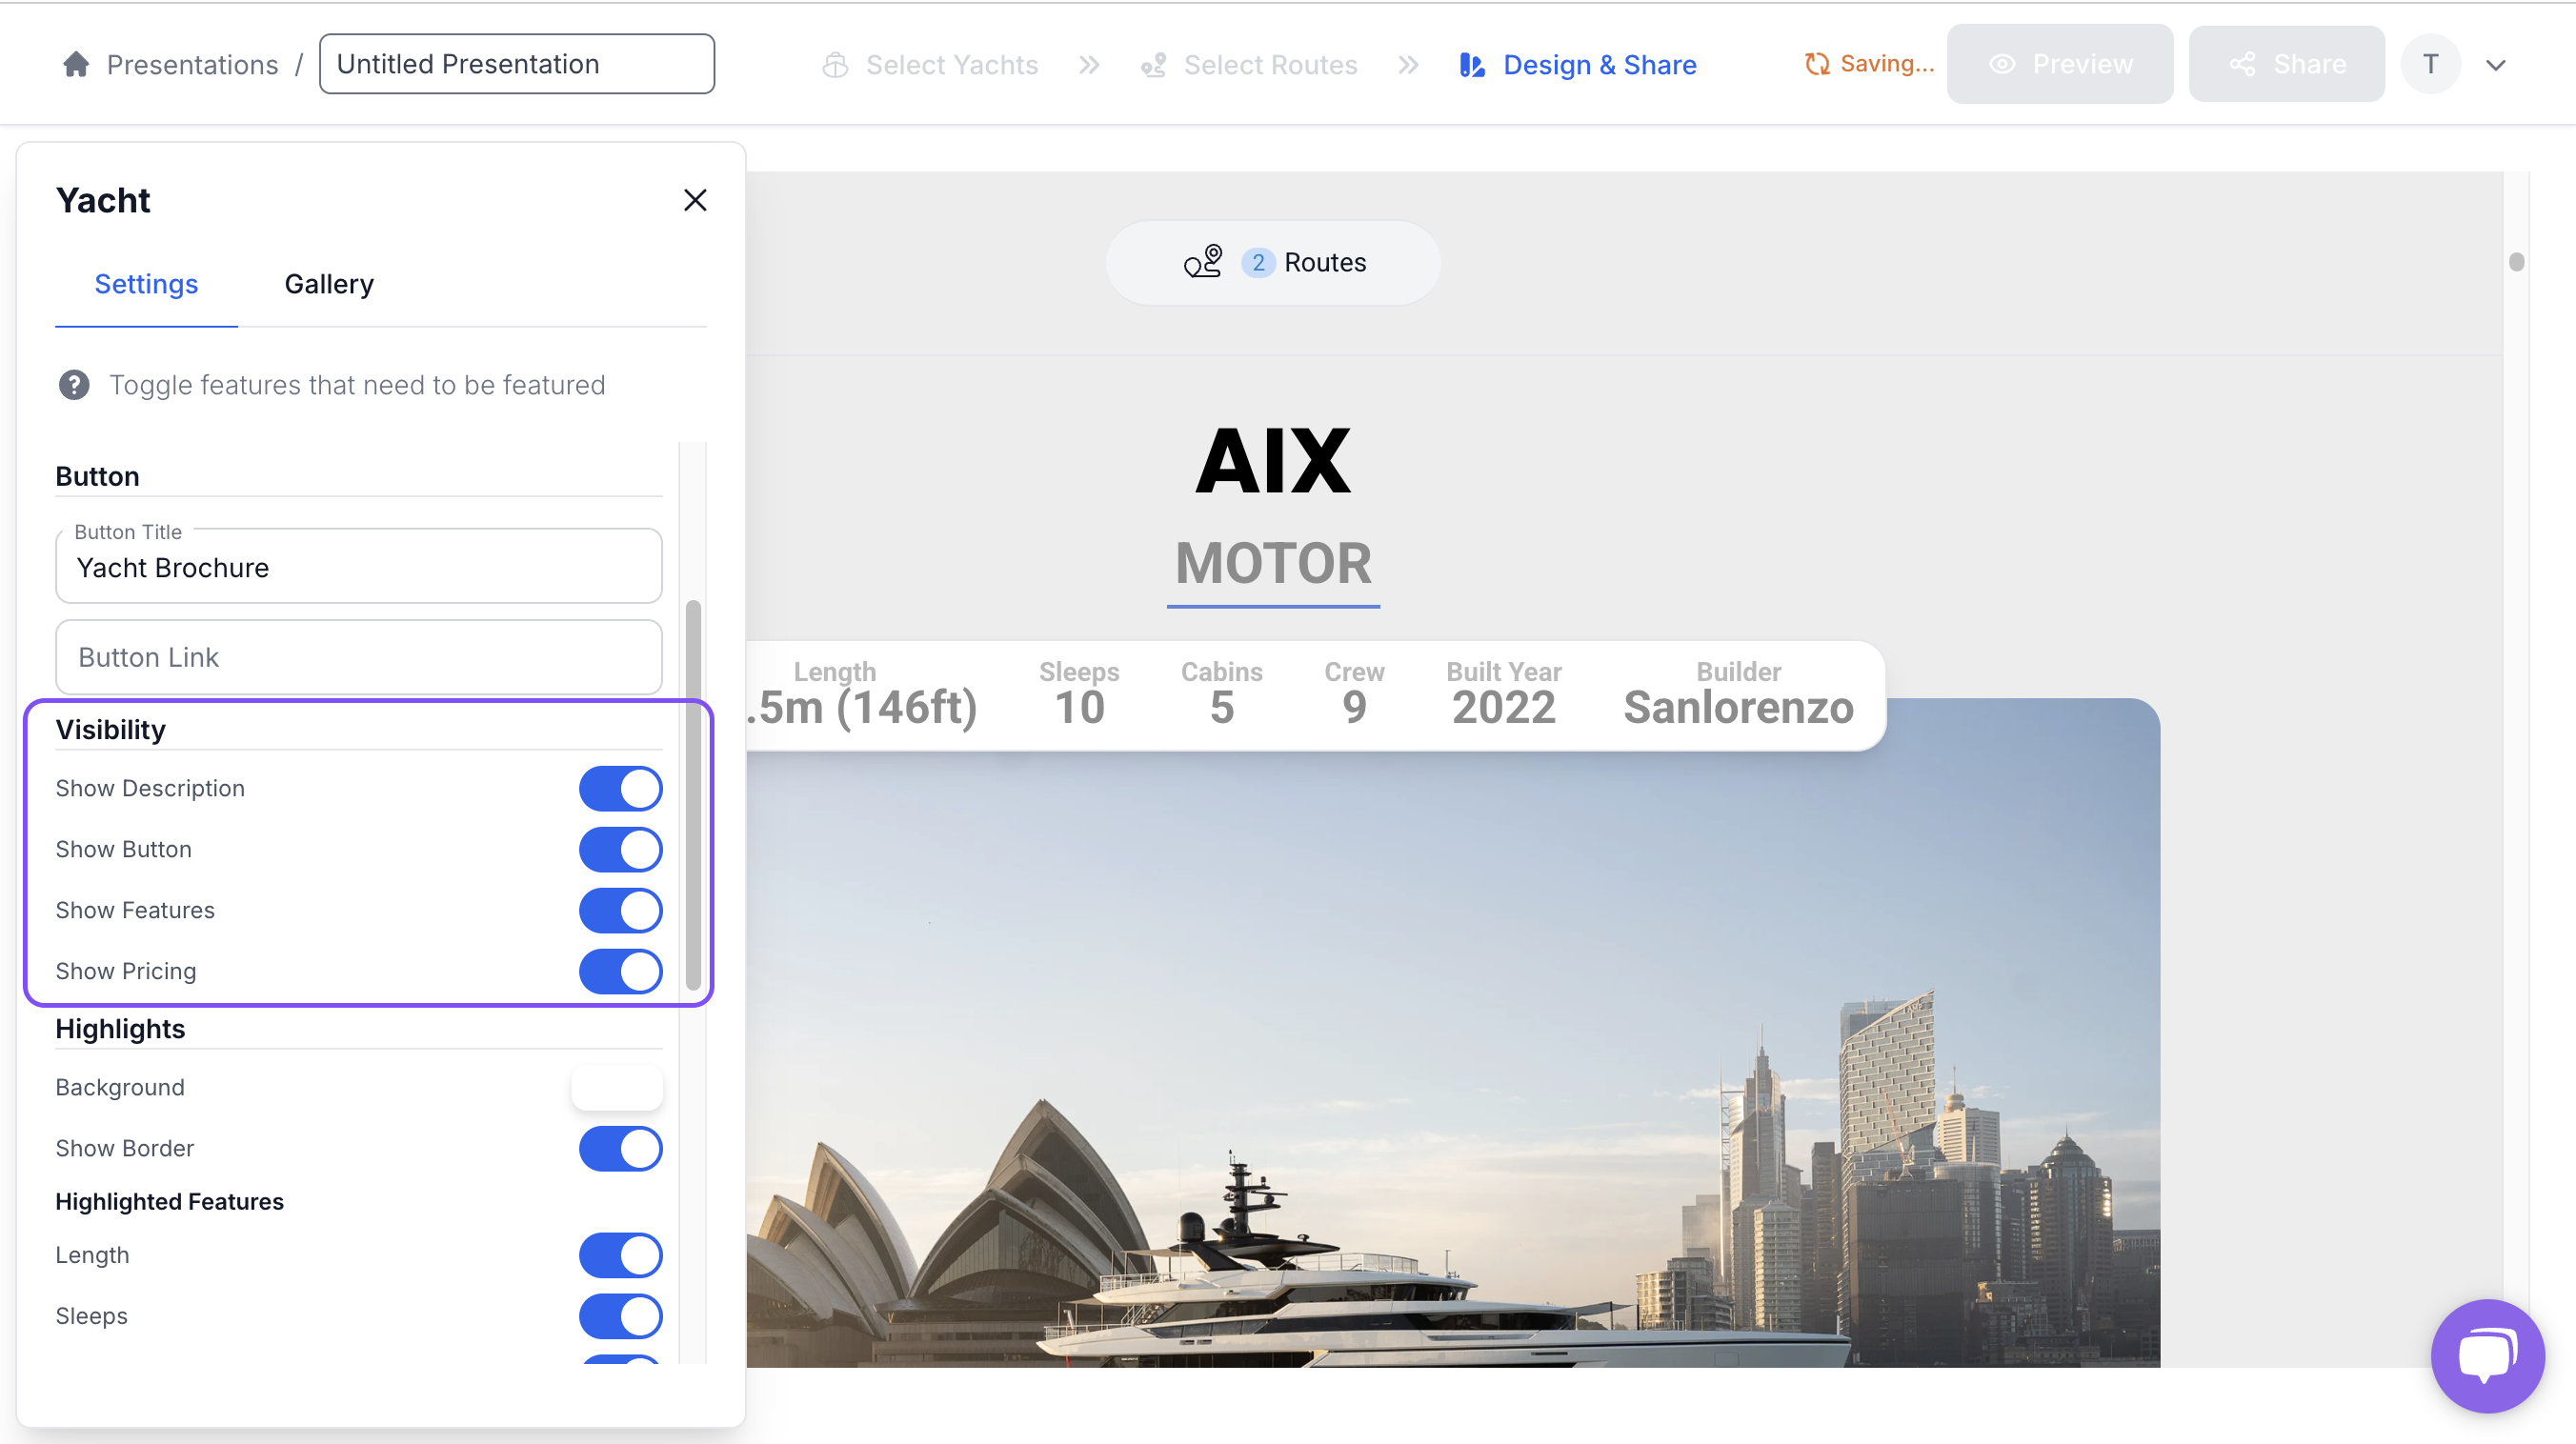
- Edit the Button label and Button link to take you audience wherever you like from your presentation.
- Enable or Disable any of the Visibility toggles to show or hide elements from your Yacht section.
Highlights
Highlights are the key features of your yacht that you would like to display in the Highlights pane above the image carousel.
- Select the background colour of the Highlights panel.
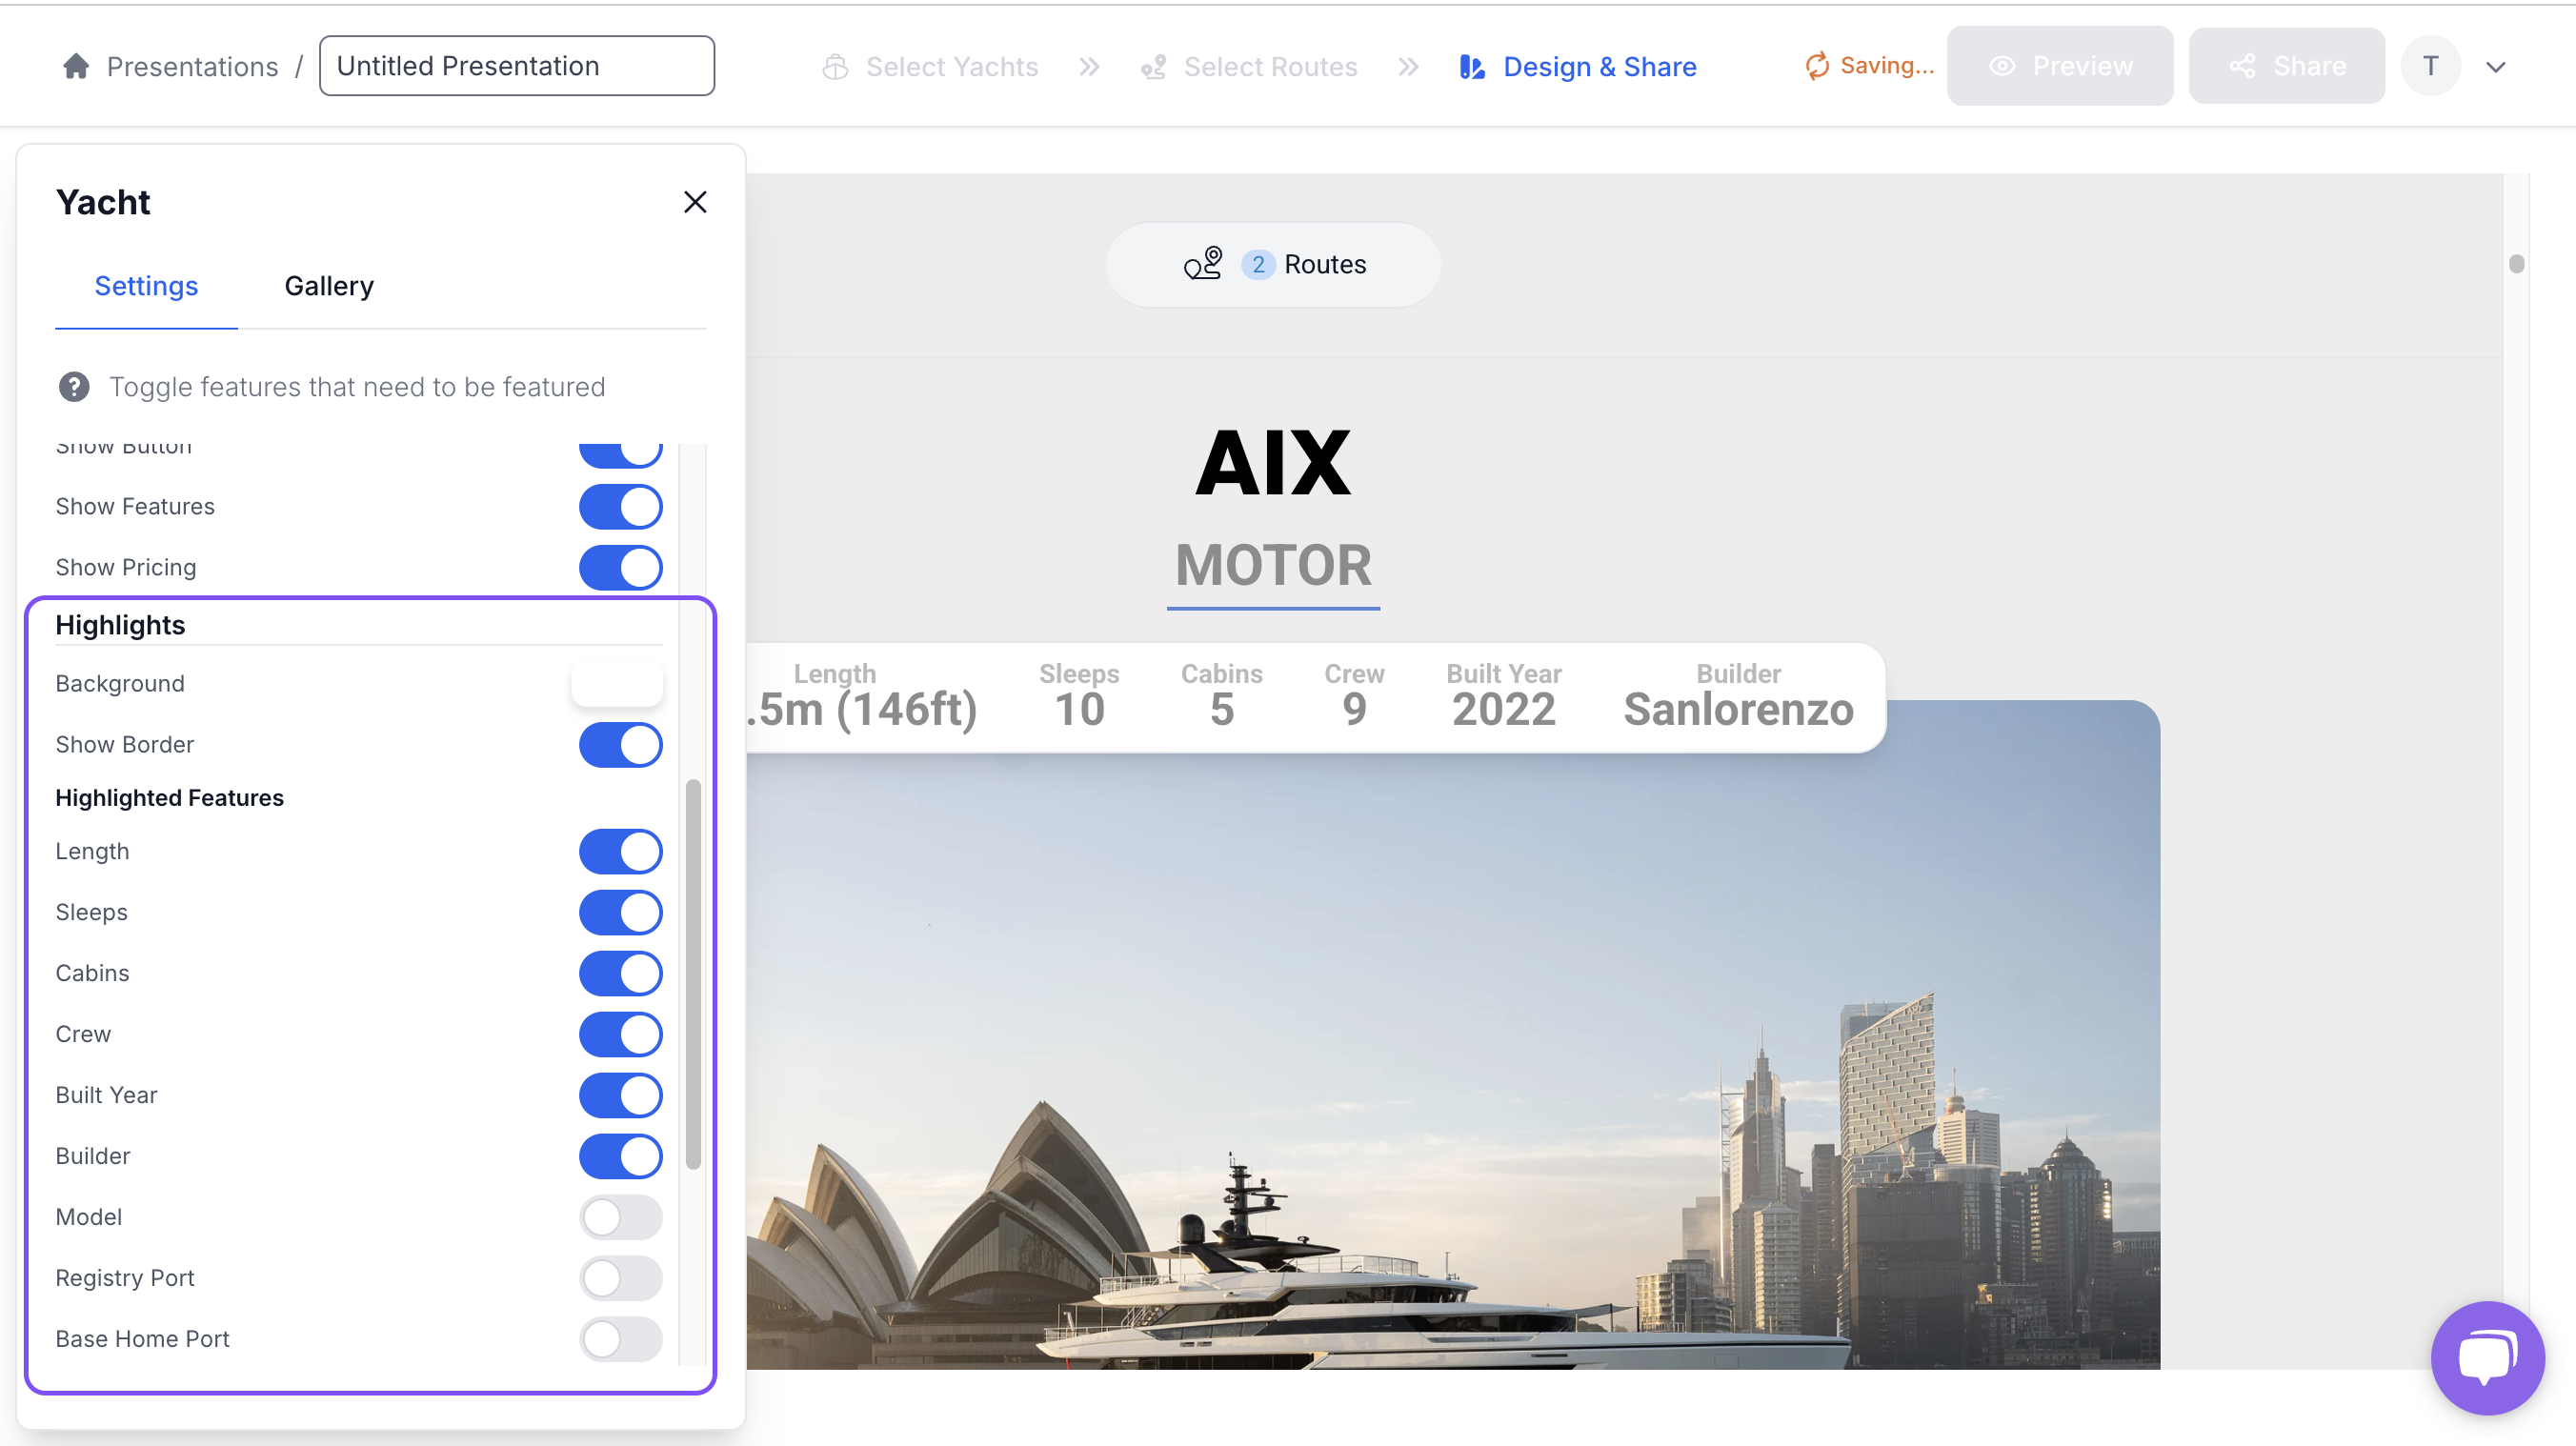
- Select whether or not you'd like to show a border for the Highlights pane.
- Highlighted Features: This is where you select which of the Features (as displayed beneath the image carousel) you'd like to also show in the Highlights pane above the image carousel.
- Enable or Disable any of the Features toggles to have them display in the Highlights pane.
- Note: If you add or remove Features within the section, this will dynamically update this list of Features toggles within the configuration panel.
- Select the Highlights pane background colour
Pricing
Although you can manage the pricing table directly within the section, you can also configure the colour of the Pricing table in the configuration panel.
- Select the pricing table Header background
- Select the pricing table Body background
⚠️ Note: These configurations are custom, and will not be saved for the next time you use a Yacht section
💡 Note: As with many Trips features, the Yacht section undergoes continual improvement. Below are some limitations of the yacht section which we plan to improve.
- Include pricing data from Ankor database, such that yacht pricing automatically populates into the Yacht section along with the rest of the yacht information.
- Save section configuration, such that a particular configuration in one Yacht section is saved as the default for future Yacht sections.
- Include Yacht sections in saved Default Layout. Yacht sections within a presentation are currently excluded from your saved Default Layout.
⚡Quick Tip
You can preview the presentation before sharing it; simply click the 'Preview' button at the top of the screen.

Still Need Help?
Speak to our Customer Success team, who are here to support you via support@ankor.io or chat with us using the Life ring Help feature at the bottom right of our application.