
The Checklist Section
What is a Checklist Section?
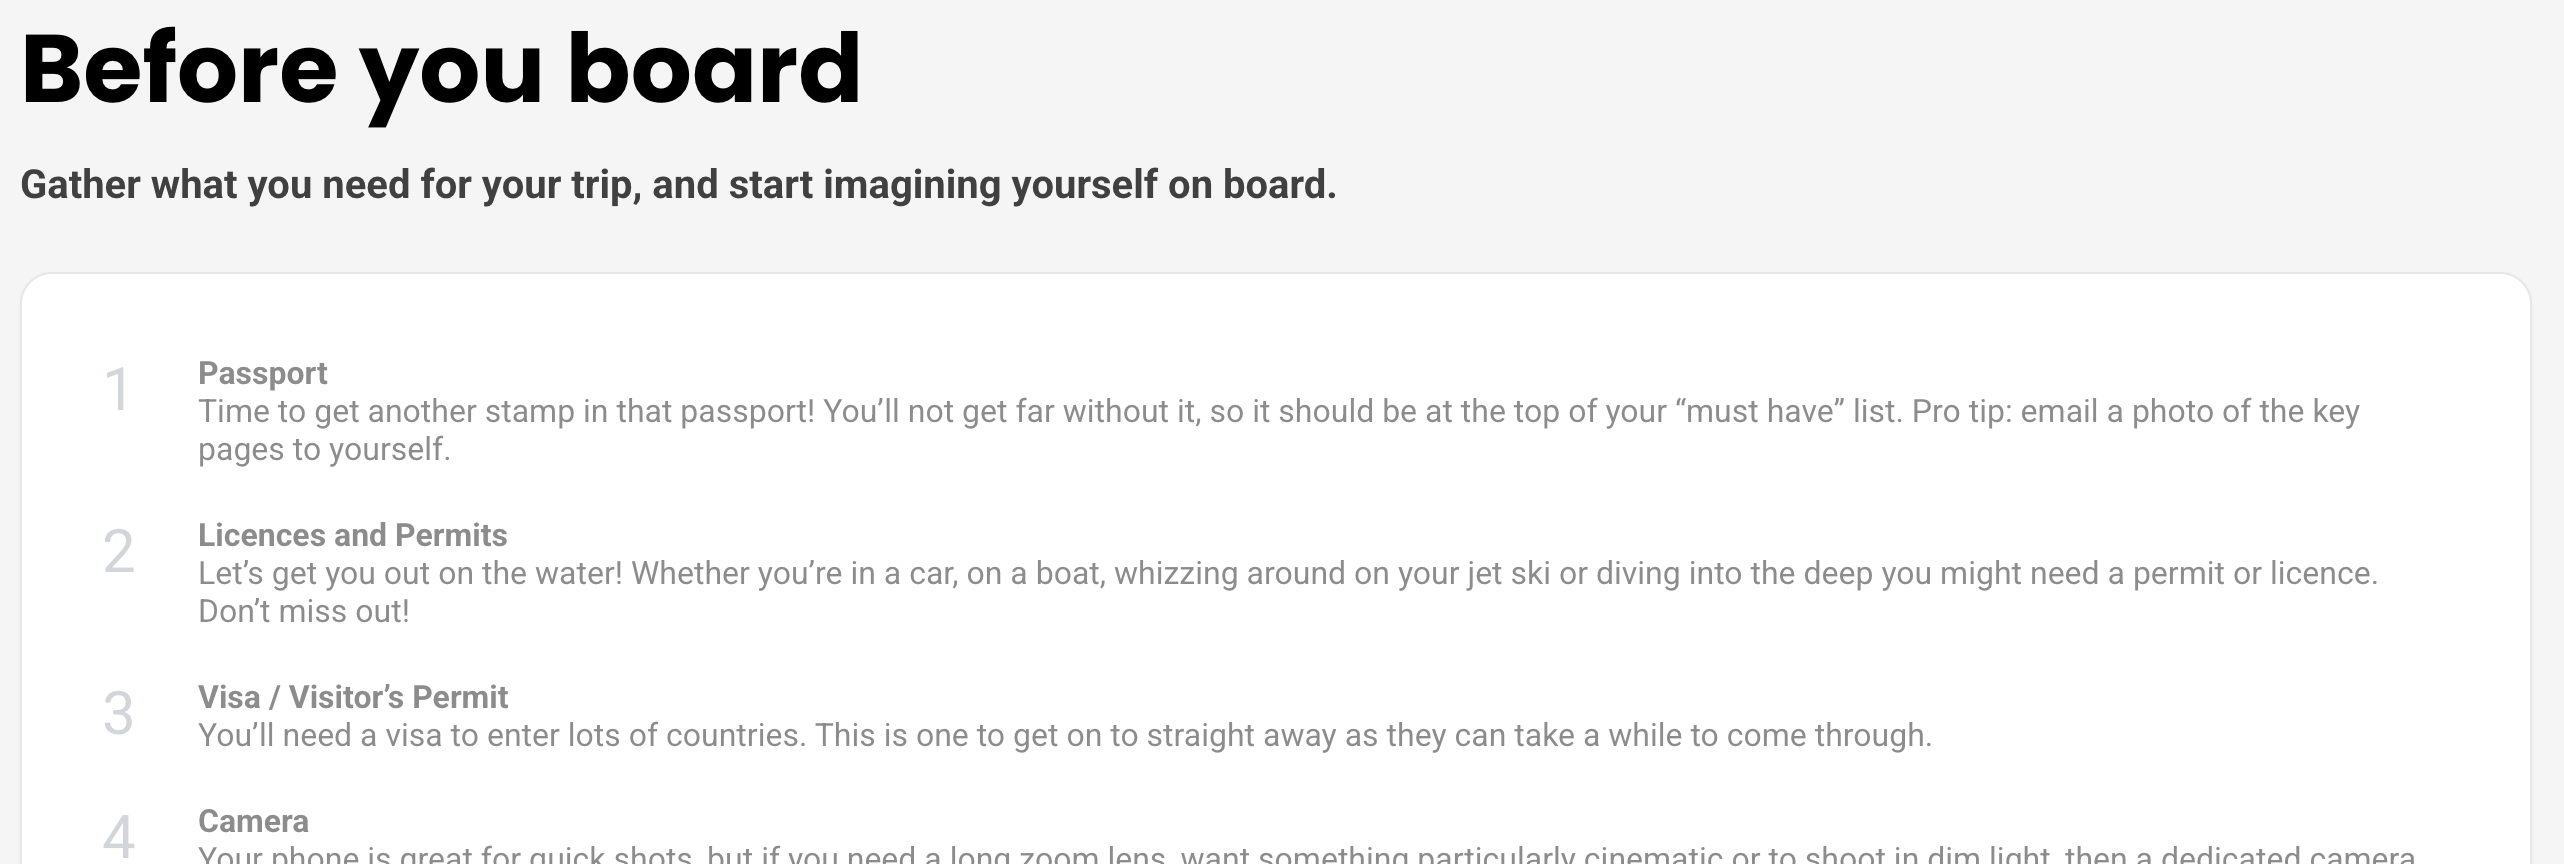
The Checklist section helps you list important items or reminders for your guests. By default, it includes essentials like a passport and camera, but you can customize it for any purpose.
How to add the Checklist Section
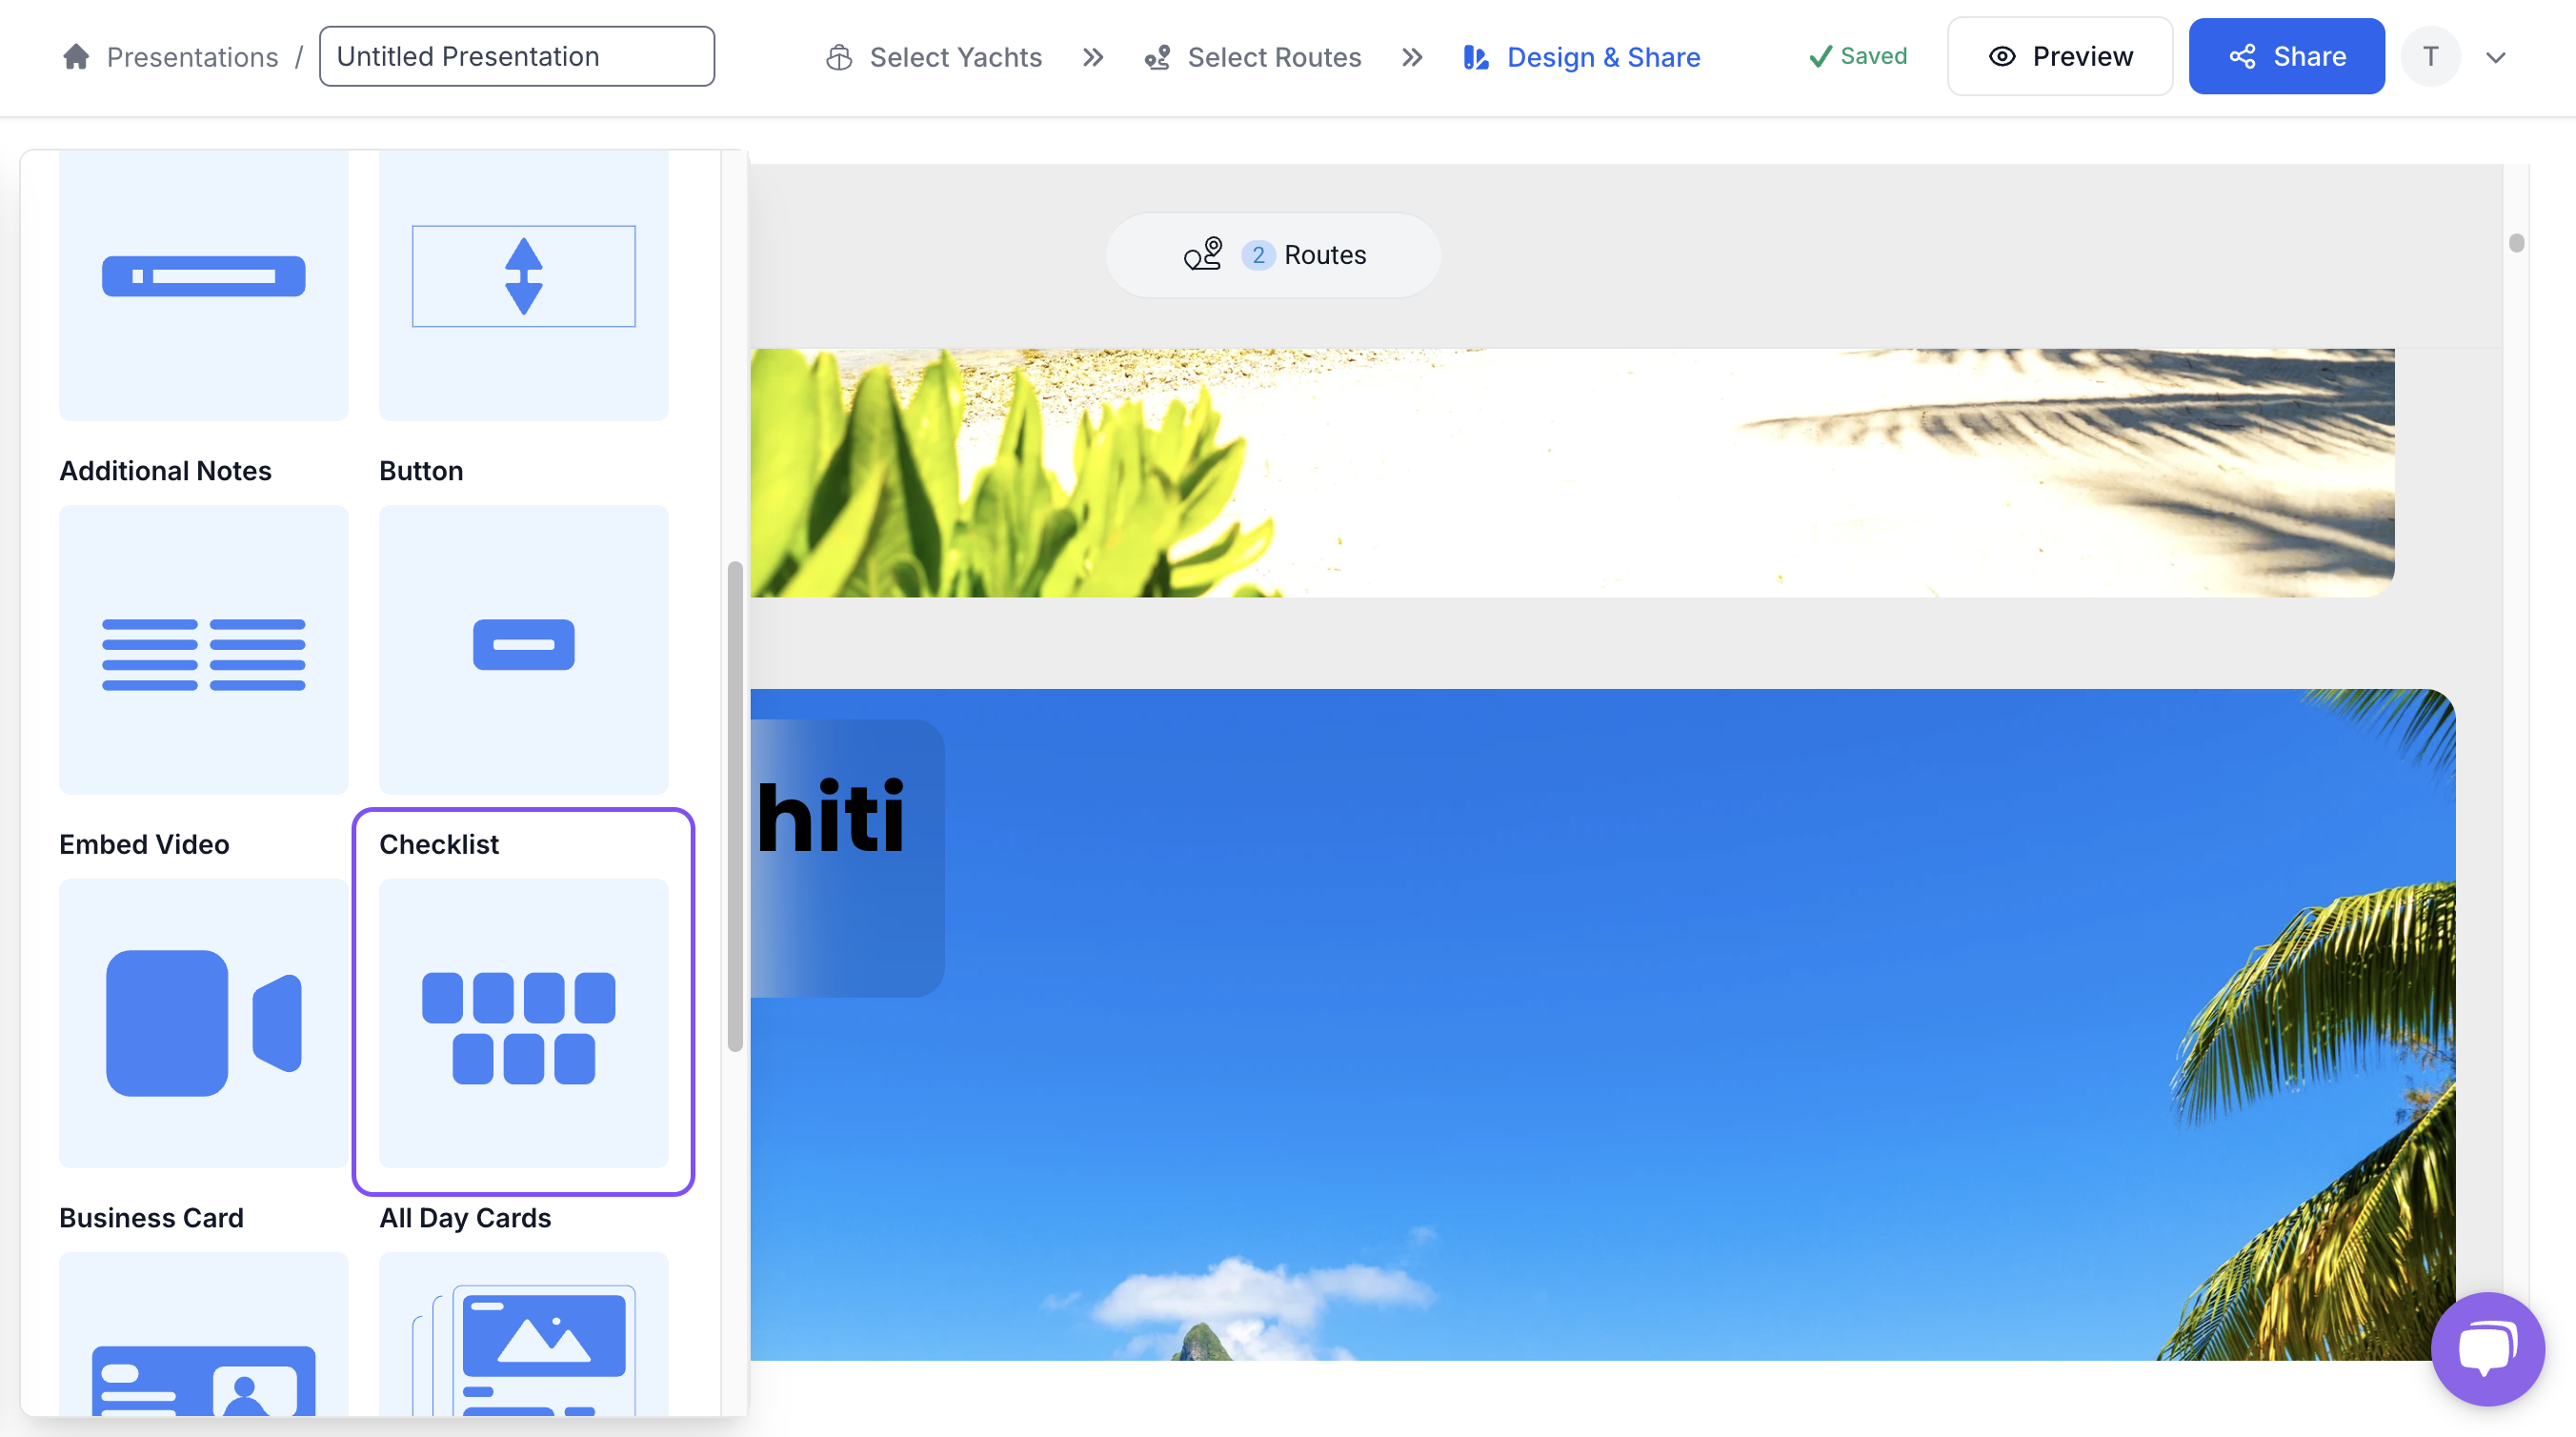
1. Navigate to where you would like to insert the checlist and click the '+ Add Section' button to open the Section selection menu.

2. In the menu, find and select the 'Checklist' and add it to your presentation.
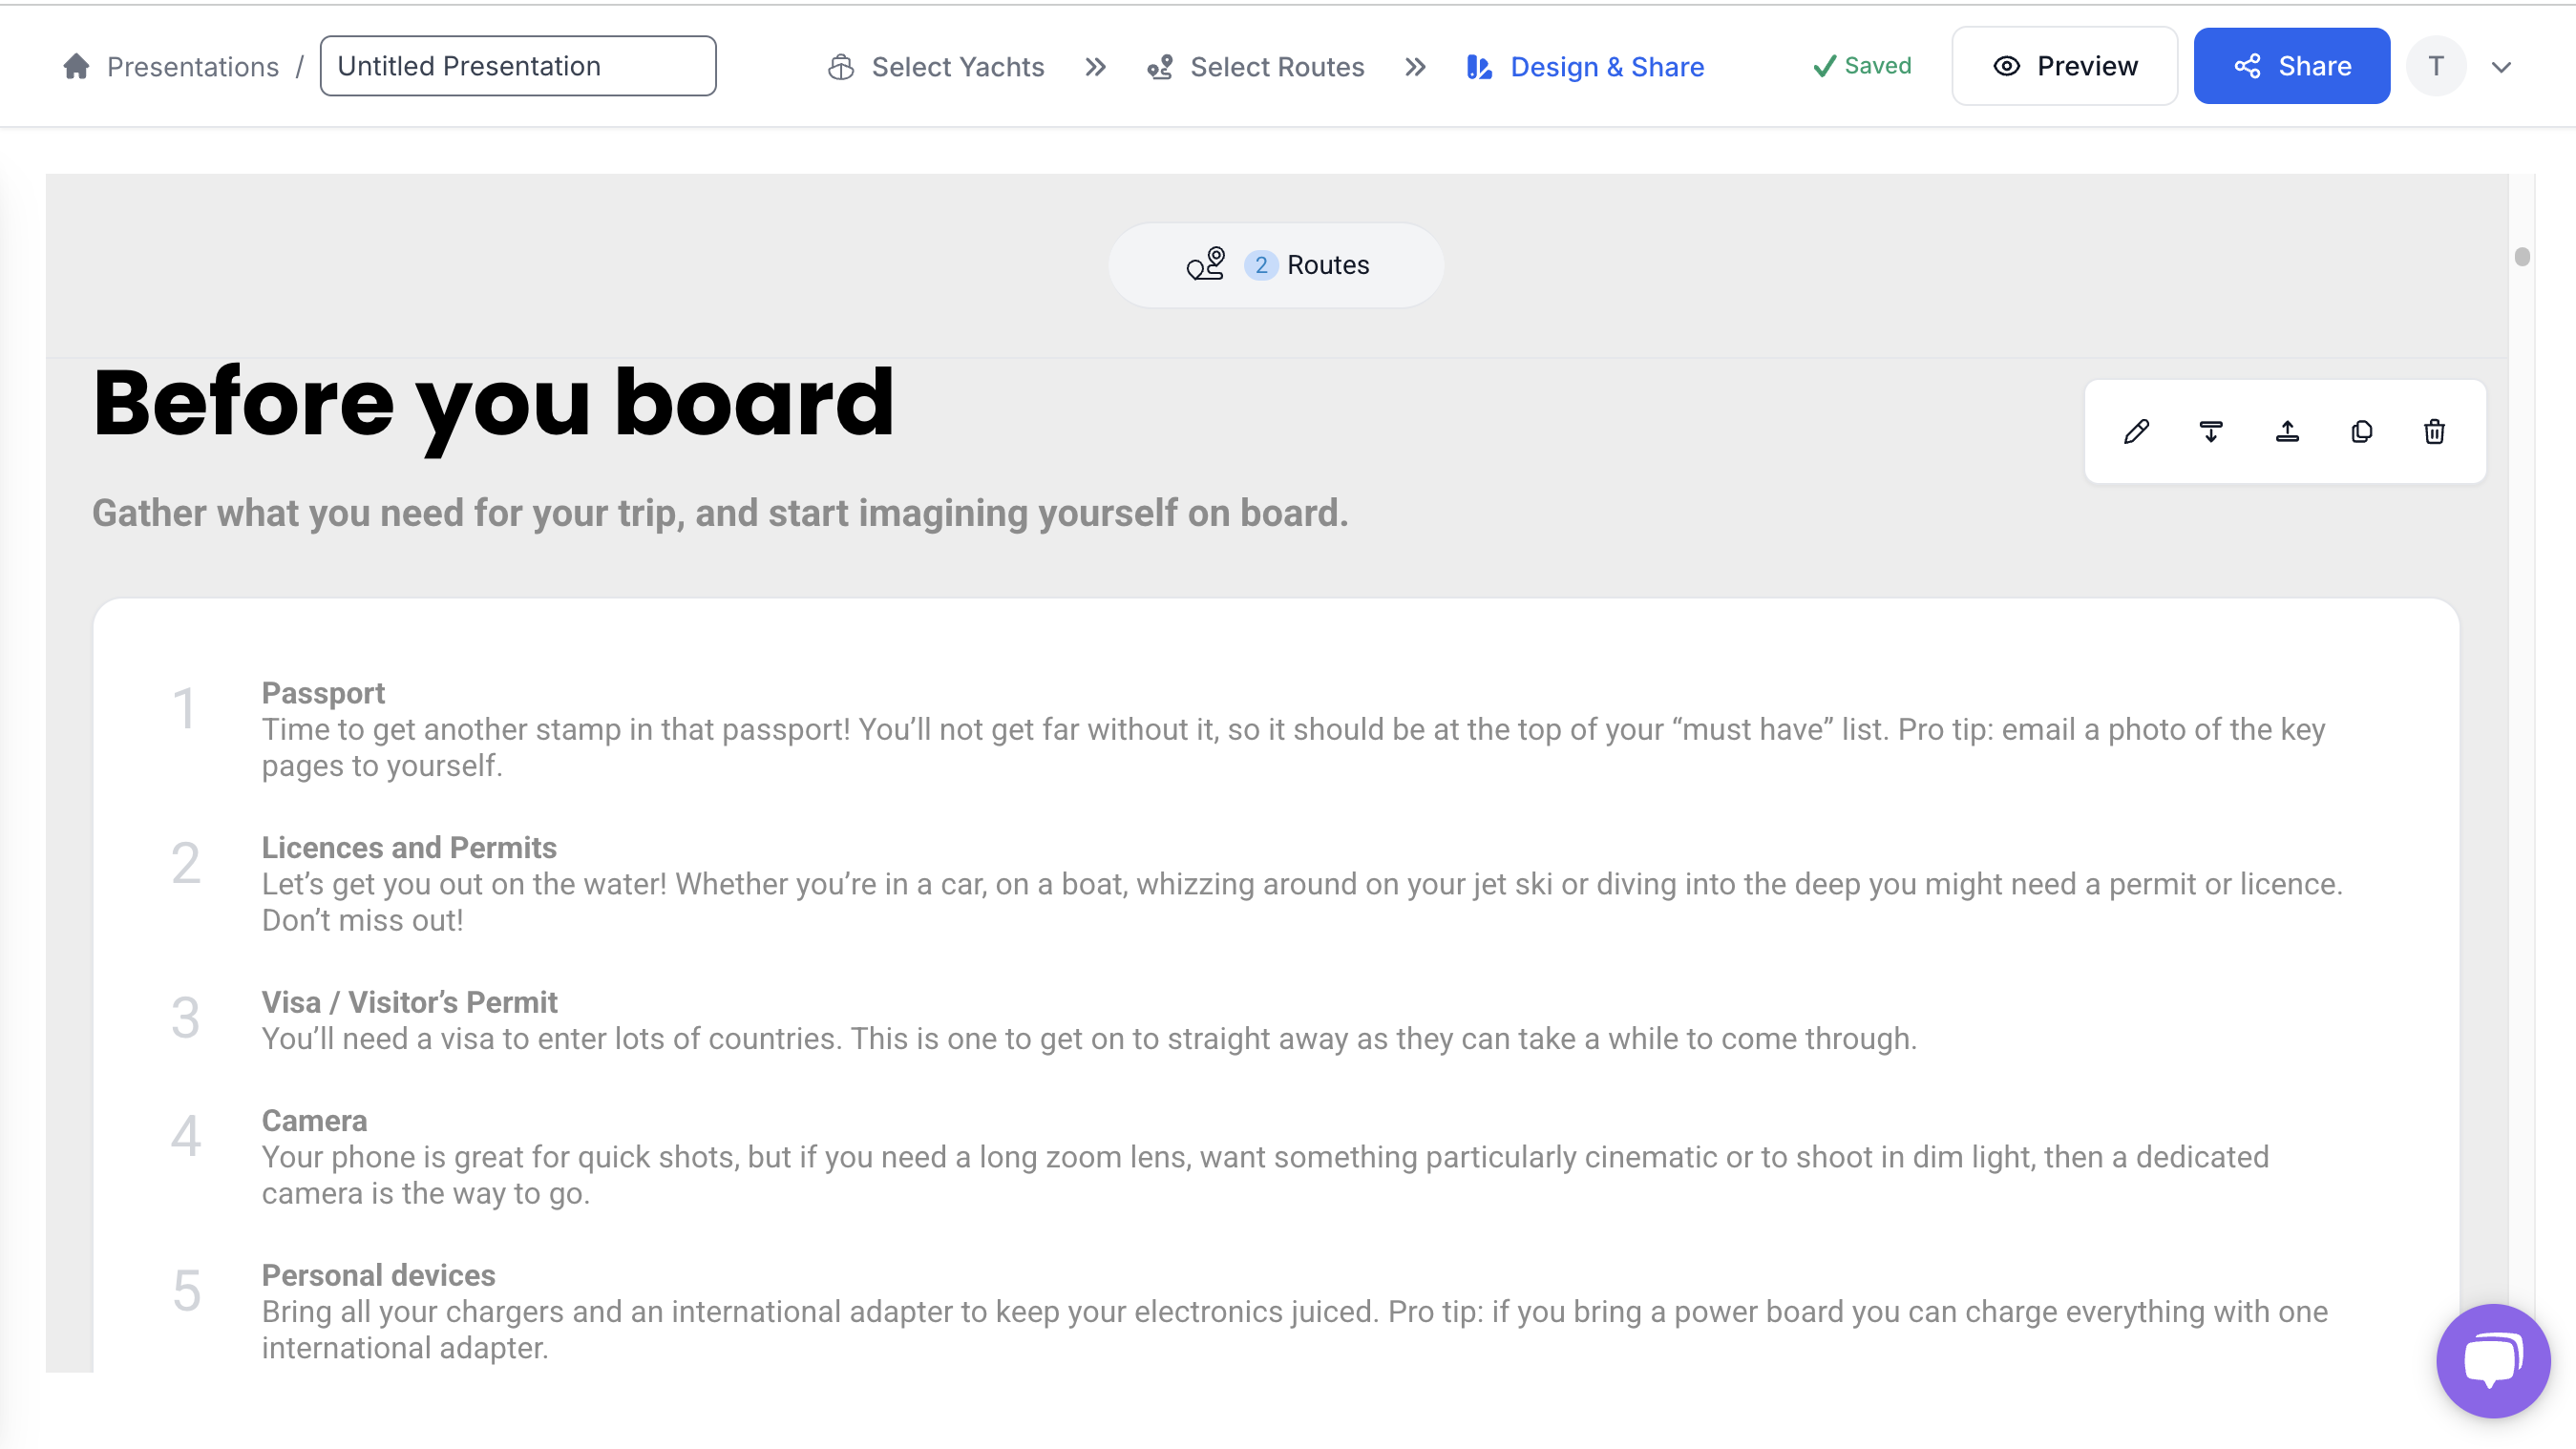
When added, the section should look something like this:
Customising the Checklist section
Changing the column style
To adjust the style of the section, hover over the top right corner of the section and then click the 'Edit' pencil tool. This will open the editing panel.
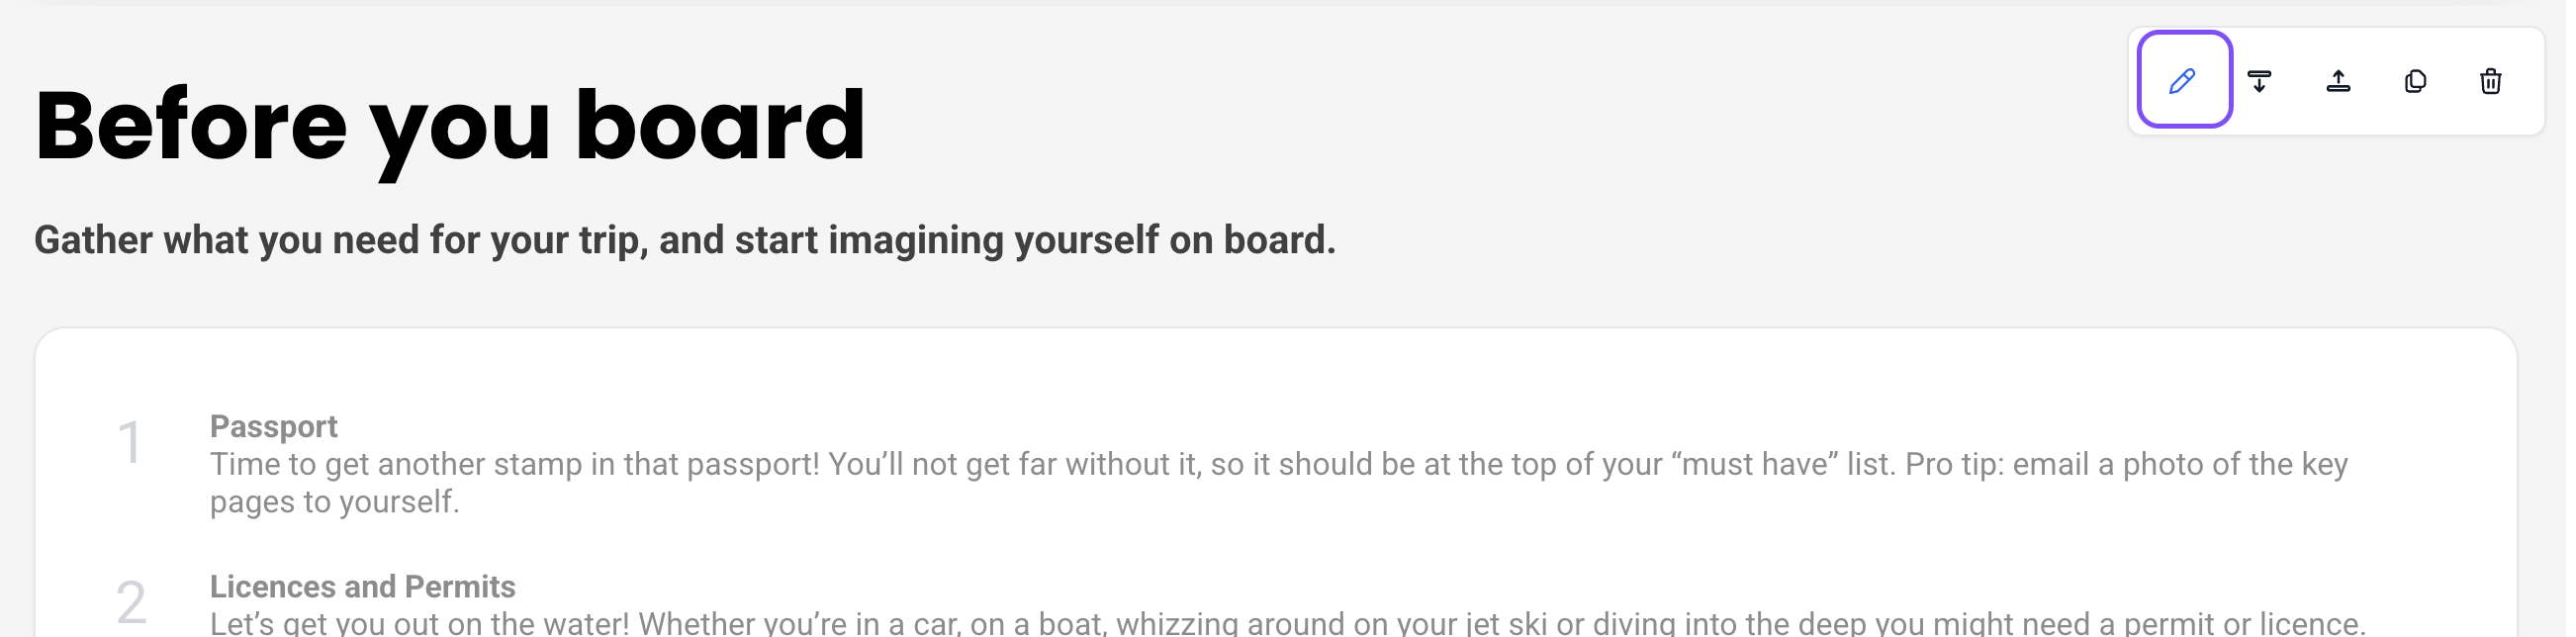
From there you can choose which style best suits your needs.

Editing the content
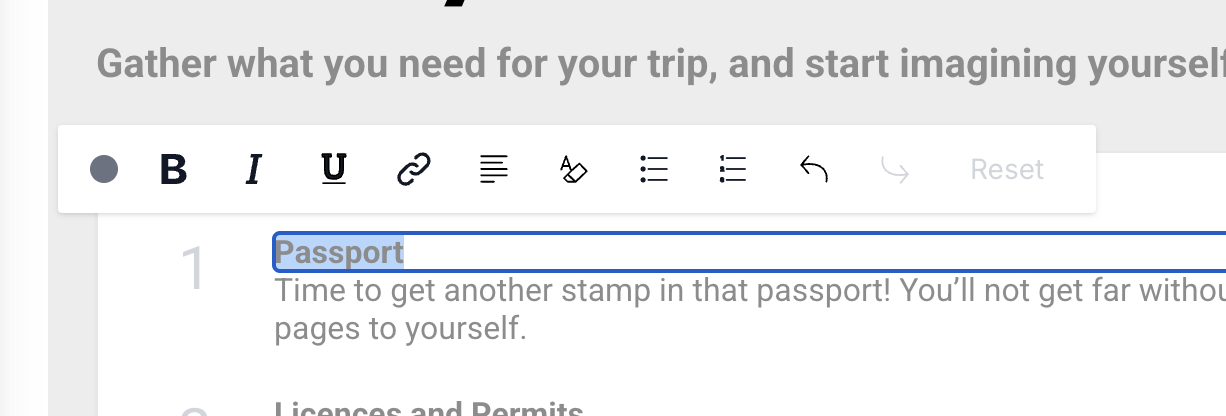
To start editing your checklist, simply click anywhere and the text editing field with options will appear.
Duplicate, delete and move the section
When you hover over a section in your presentation, additional options appear, allowing you to edit, move, duplicate, or delete the section.

⚡Quick Tip
You can preview the presentation before sharing it; simply click the 'Preview' button at the top of the screen.

Still Need Help?
Speak to our Customer Success team, who are here to support you via support@ankor.io or chat with us using the Life ring Help feature at the bottom right of our application.