
The Image Section
What is the Image Section?
The Image Section allows users to insert an image from our gallery or upload their own into their presentations. Images can range from crew photos, supplementaty yacht photos, location images or anything you like.
▶️ Checkout how images can be used in this example presentation
How to add an Image Section
1. Start by hovering and clicking the "+ Add Section" button located inside the presentation editor. This will open the section selection menu.

2. Find and select the option titled 'Image' and click 'Add'.
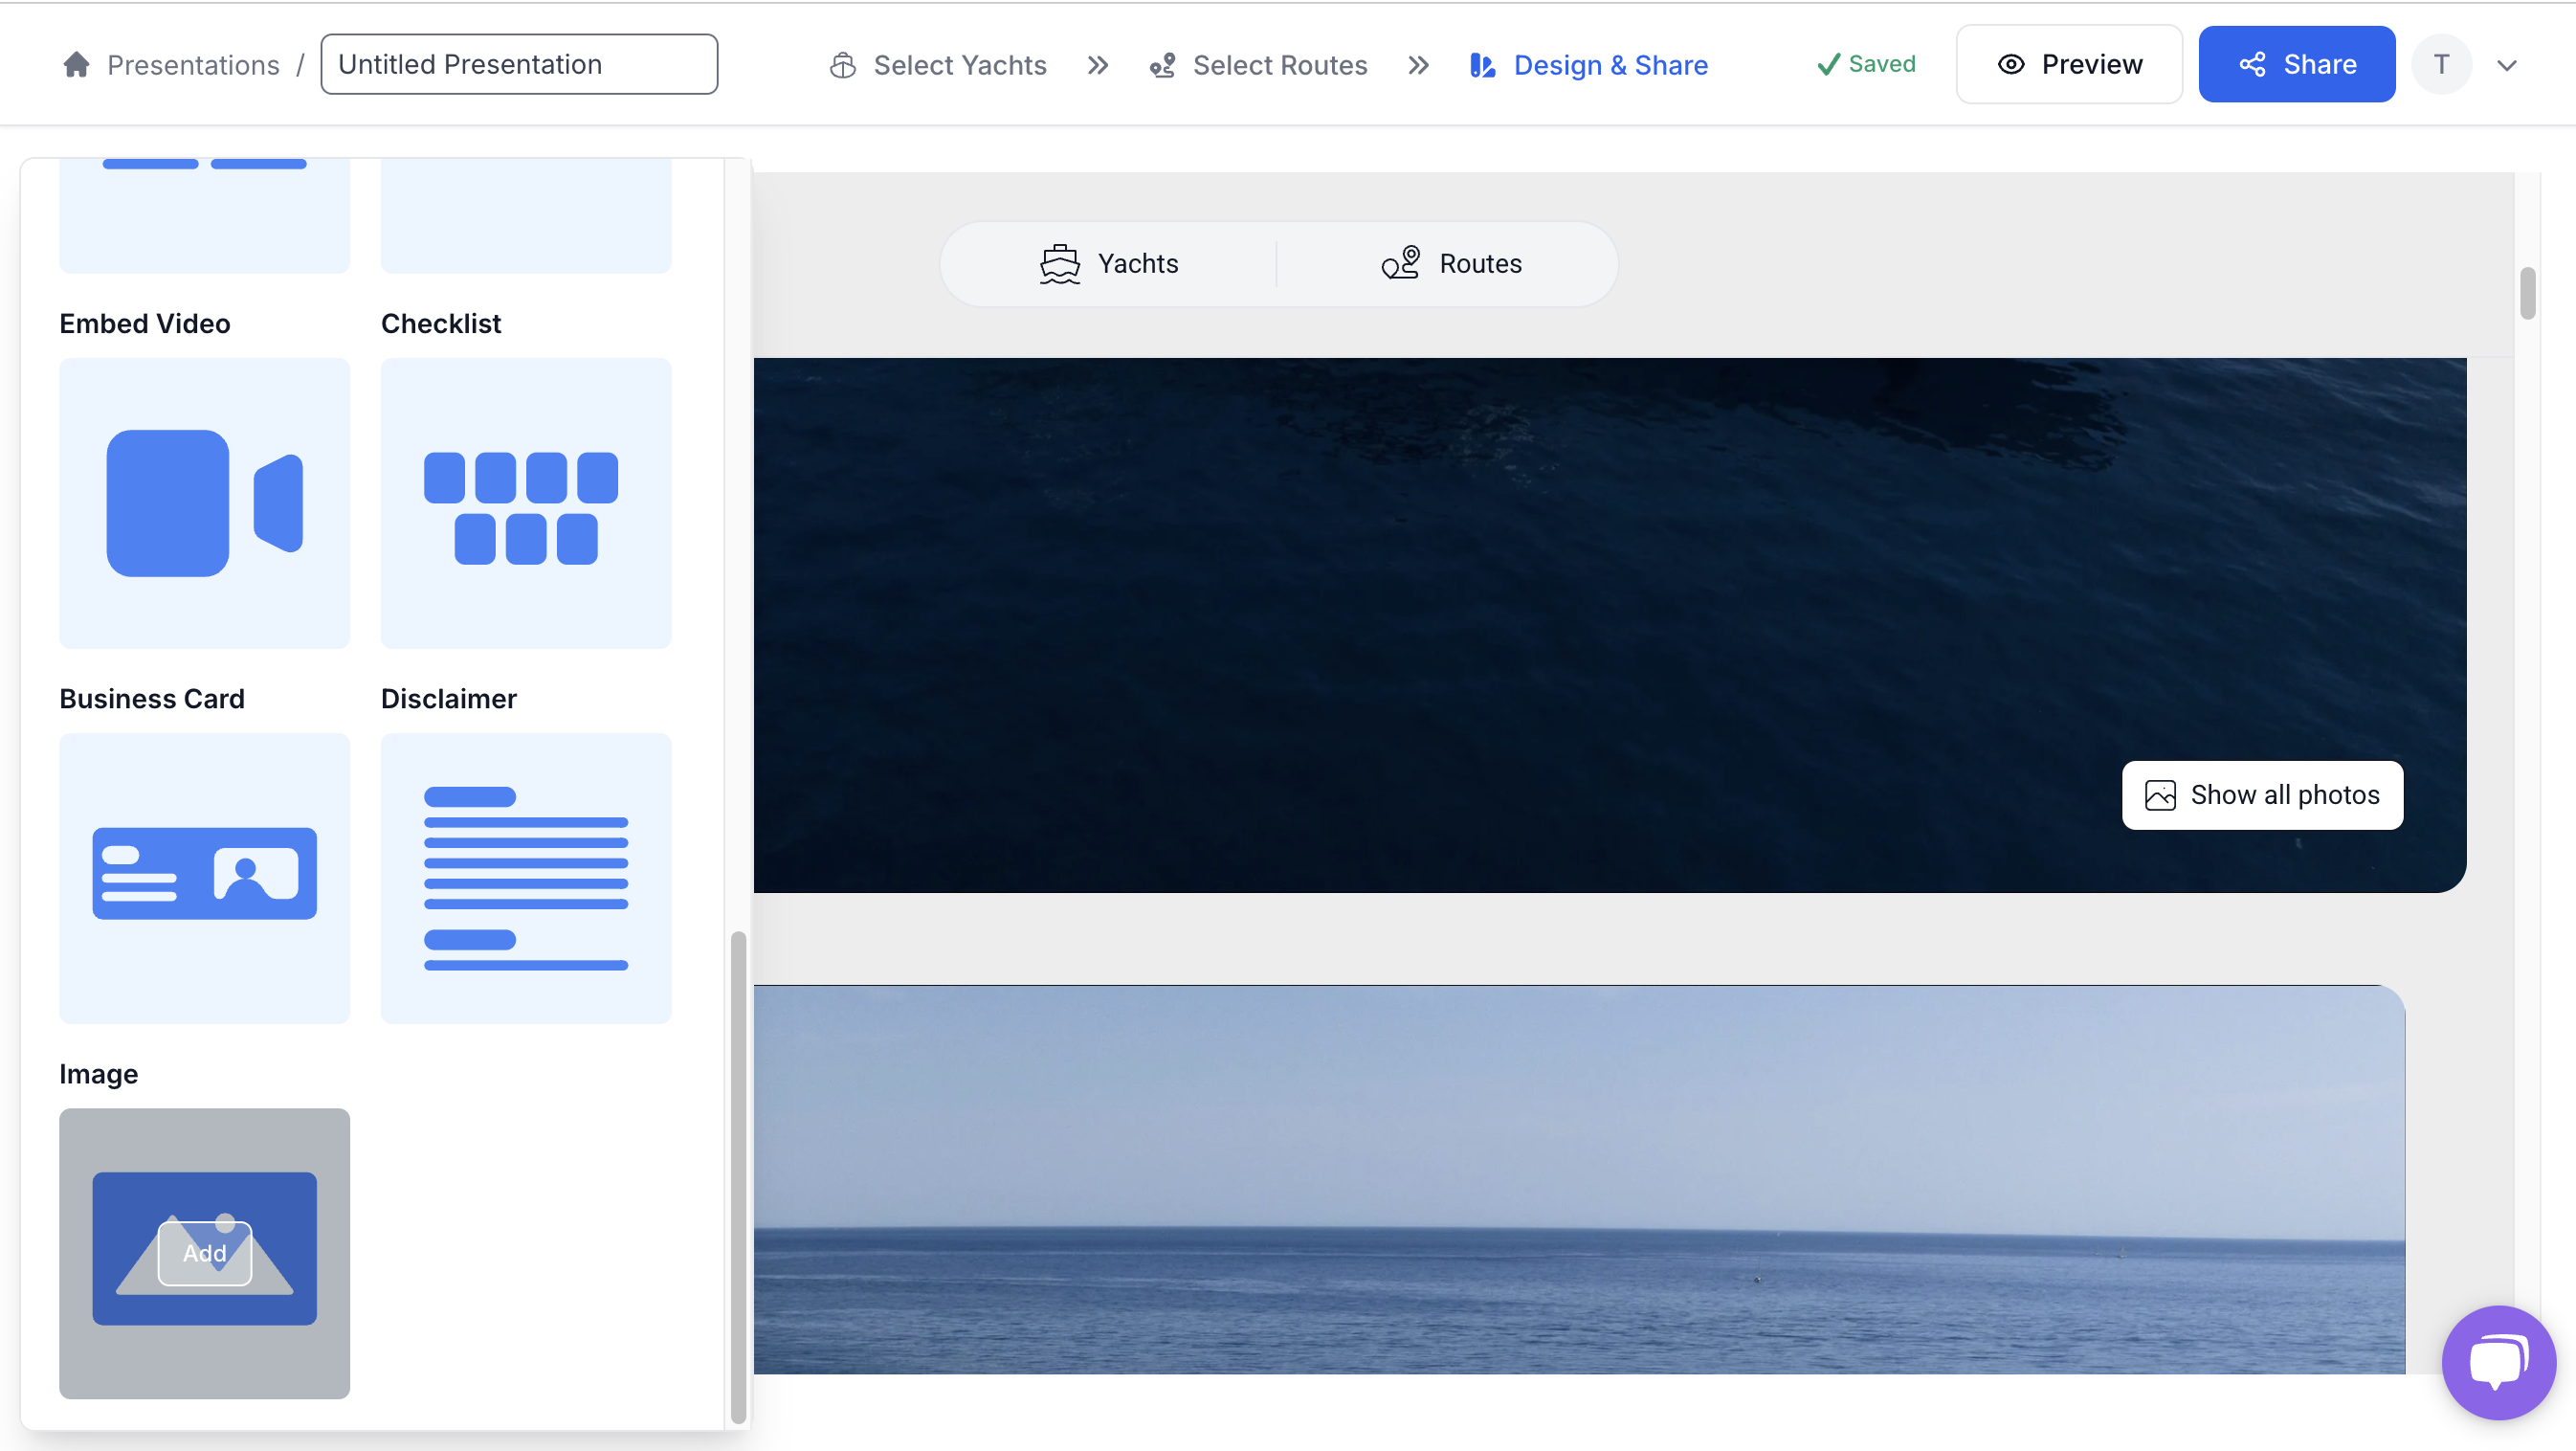
The section should look something like this:
Note: If you don't have any images in your gallery, the Image section will appear empty.
Customising the Image section
You can customise the Image section by clicking the edit icon at the top right corner of the section. 
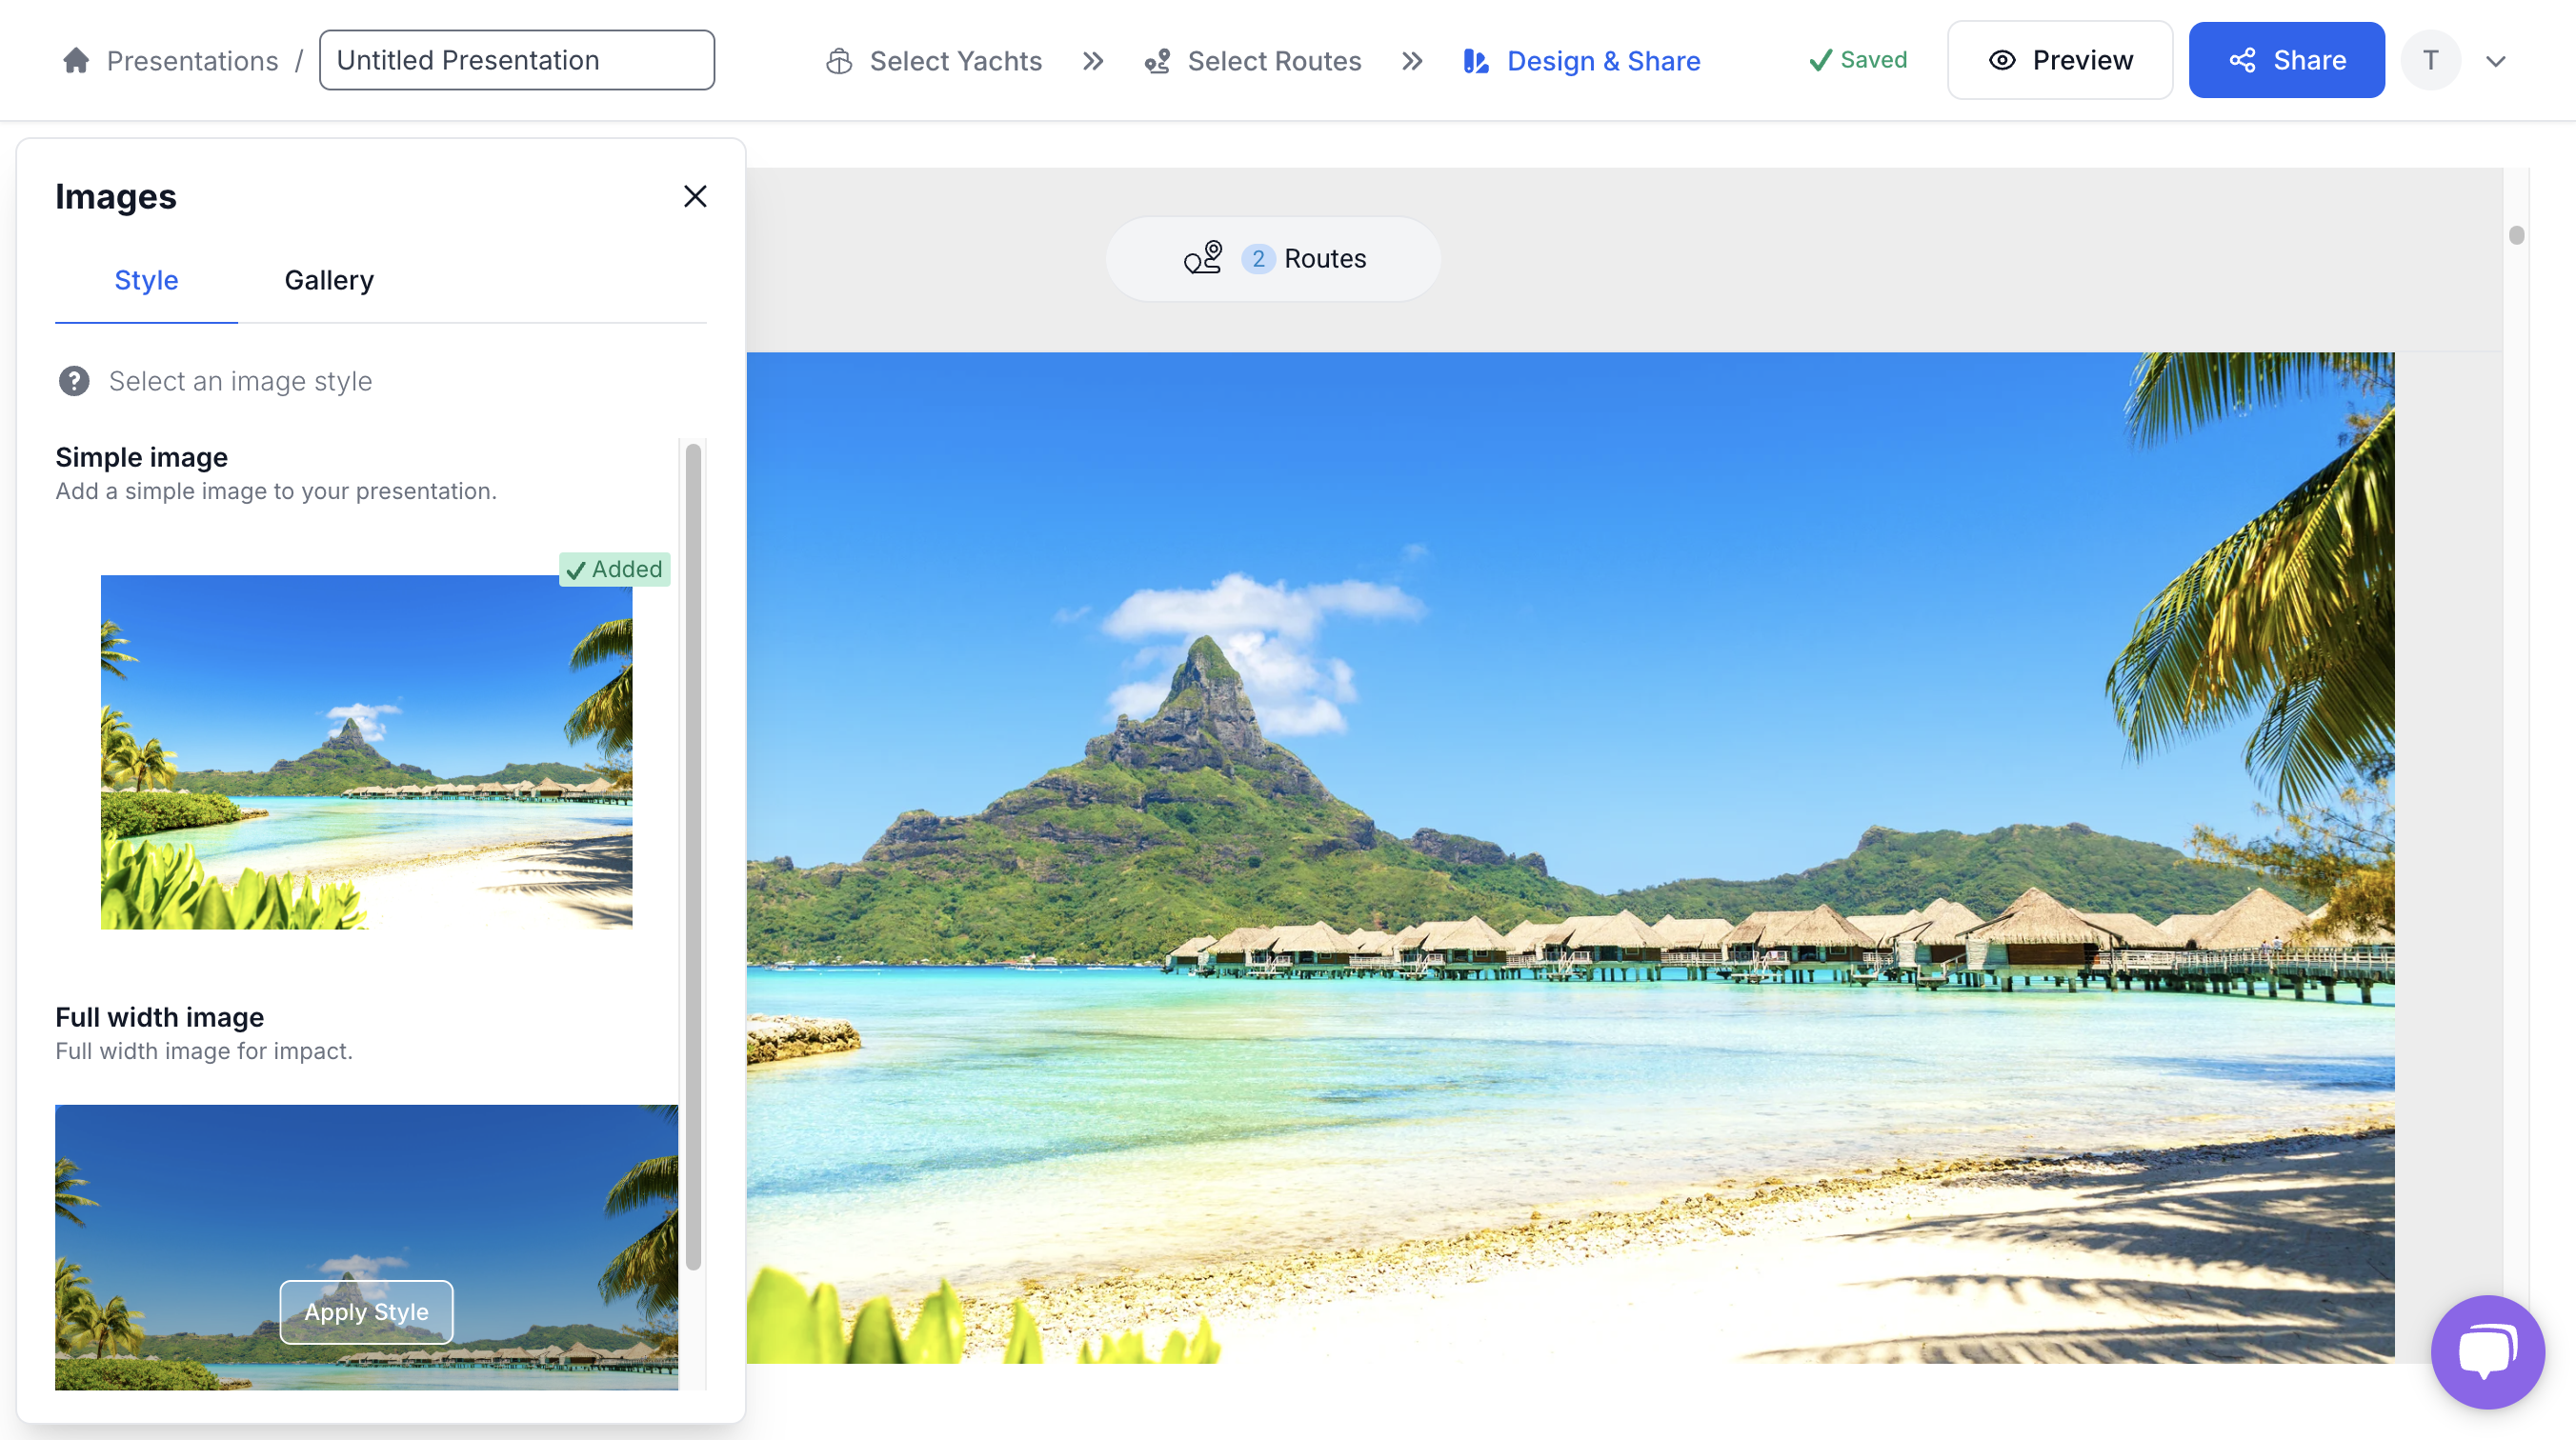
How to edit the Style
In the Style tab, choose between 'Simple Image' or 'Full Width' to adjust the image layout.

Changing the Image in the Gallery Tab
The gallery makes it easy to update photos in the Image section. You can drag images from the gallery to replace existing ones or upload your own. Any uploaded photos will automatically be added to all gallery components on the page.

How to move, duplicate and delete
You also have the option to move, duplicate, or delete the section by simply hovering over the top right corner of the section, to reveal the action tool bar for the section.

⚡Quick Tip
You can preview the presentation before sharing it; simply click the 'Preview' button at the top of the screen.

Still Need Help?
Speak to our Customer Success team, who are here to support you via support@ankor.io or chat with us using the Life ring Help feature at the bottom right of our application.